“The Art of Impressions: How UV DTF Transfers Are Made” -MAXDTF- Direct to Transfer UV DTF Decal Manufacturer, DTF UV Film Factory, Made in China
In the field of digital printing, the demand for high-quality, durable, and versatile printing solutions has driven the evolution of various technologies. One such innovation that has gained significant attention in recent years is UV DTF (Direct-to-Film) transfers. This advanced printing method combines elements of traditional printing techniques with modern UV technology, offering a unique and sophisticated way to create vivid, long-lasting impressions on a wide range of materials.
What Are UV DTF Transfers?
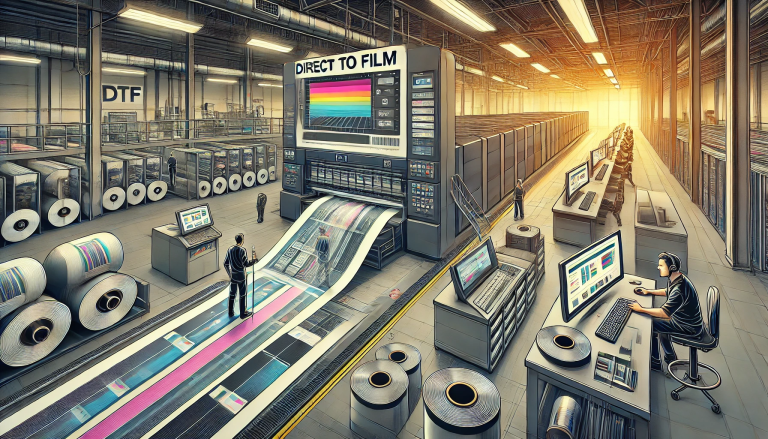
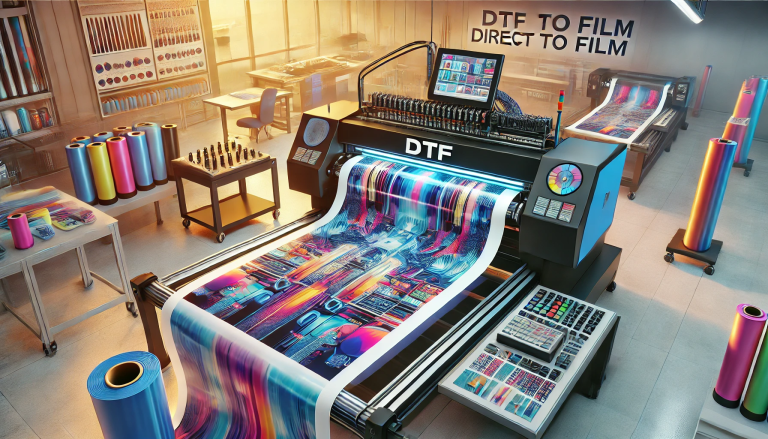
UV DTF transfers are a type of digital printing process that involves printing designs onto a specialized film using a digital printer. The printed film is then transferred onto a substrate (such as fabric, plastic, or metal) using heat and pressure. The key difference between UV DTF transfers and traditional transfer methods lies in the use of UV-curable inks. These inks are cured using ultraviolet light, which not only enhances the durability of the print but also allows for vibrant colors and sharp details.
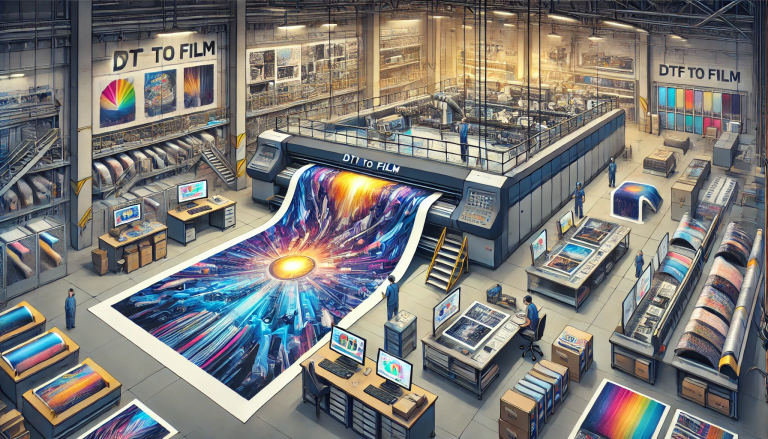
The Process of Making UV DTF Transfers
The creation of UV DTF transfers is a meticulous process that requires precision, skill, and the right equipment. Here’s a step-by-step overview of how it’s done:
1. Design and Preparation
The process begins with the creation of the design using graphic design software. The design is then prepared for printing by ensuring that the resolution is high enough to achieve sharp details. The design is also adjusted for color accuracy, as UV-curable inks have specific characteristics that may affect the final output.
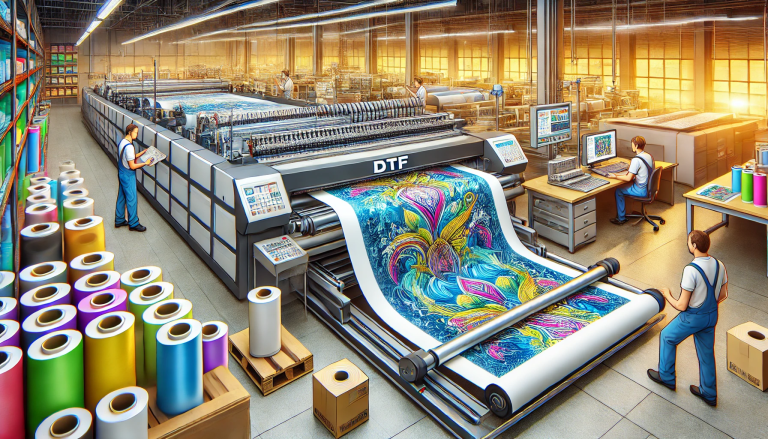
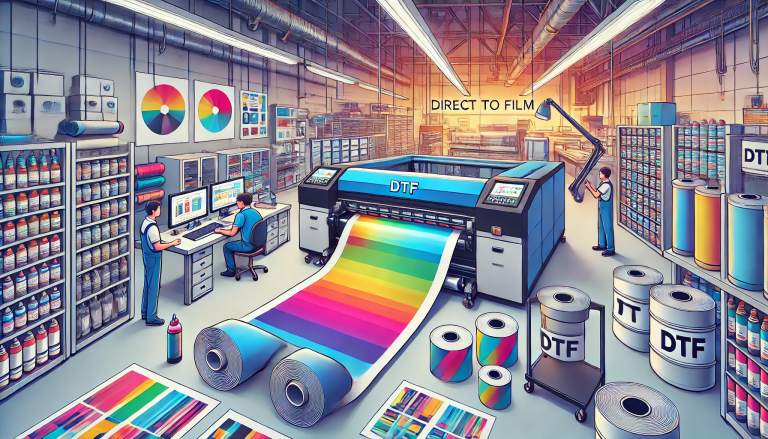
2. Printing on Film
Once the design is ready, it is printed onto a specialized transfer film using a UV DTF printer. These printers are equipped with UV-curable ink cartridges, which allow for the printing of high-quality images with vibrant colors and fine details. The ink is applied to the film in a thin, even layer, ensuring that the design will transfer smoothly to the final substrate.
3. UV Curing
After printing, the film is passed through a UV curing unit. This unit exposes the printed ink to ultraviolet light, which causes the ink to cure and harden. The curing process not only ensures that the ink adheres to the film but also makes it resistant to fading, cracking, and peeling. The cured ink is now ready for the transfer process.
4. Powder Application
Before transferring the design to the substrate, a layer of adhesive powder is applied to the printed side of the film. This powder acts as a bridge between the film and the substrate, ensuring that the design adheres securely. The powder is typically applied using a specialized applicator that evenly distributes the material across the surface.
5. Transfer Process
The film with the printed and powdered design is placed on the substrate, with the printed side facing down. Heat and pressure are then applied using a heat press. The heat activates the adhesive powder, causing it to melt and bond with the substrate. Simultaneously, the film is removed, leaving the design permanently affixed to the surface.
6. Finishing Touches
Once the transfer is complete, the substrate is inspected to ensure that the design is properly adhered and that there are no imperfections. Any necessary touch-ups are made, and the final product is ready for use.
Advantages of UV DTF Transfers
UV DTF transfers offer several advantages over traditional printing methods:
- Durability: The use of UV-curable inks and adhesive powder ensures that the prints are highly resistant to wear and tear, making them ideal for applications that require long-lasting impressions.
- Versatility: UV DTF transfers can be applied to a wide range of materials, including fabrics, plastics, metals, and more. This versatility makes them suitable for a variety of industries, from fashion and textiles to promotional products and industrial applications.
- Vibrant Colors: The UV-curable inks used in DTF transfers produce bright, vivid colors that do not fade easily, even when exposed to sunlight or harsh chemicals.
- Precision: Digital printing technology allows for highly detailed and accurate designs, making it possible to achieve intricate patterns and fine text.
Applications of UV DTF Transfers
The versatility of UV DTF transfers has made them popular in numerous industries:
- Fashion and Textiles: UV DTF transfers are widely used in the apparel industry for printing custom designs on T-shirts, hoodies, and other garments. The ability to create detailed, long-lasting prints has made them a favorite among designers and manufacturers.
- Promotional Products: Businesses use UV DTF transfers to personalize promotional items such as mugs, keychains, and bags. The vibrant colors and durability of the prints ensure that the branding remains visible and attractive over time.
- Sports and Outdoor Gear: The toughness of UV DTF transfers makes them ideal for printing on sports equipment, outdoor gear, and other items that require durable, weather-resistant prints.
- Industrial Applications: In industries such as automotive and electronics, UV DTF transfers are used to create customized labels, decals, and other components that require high-quality, durable printing.
The Future of UV DTF Transfers
As technology continues to advance, UV DTF transfers are likely to become even more sophisticated and widely adopted. Innovations in UV-curable inks, printer technology, and transfer materials are expected to further enhance the quality and capabilities of UV DTF transfers. Additionally, the growing demand for eco-friendly printing solutions may lead to the development of more sustainable UV DTF processes, making them an even more attractive option for businesses and consumers alike.
Conclusion
UV DTF transfers represent a significant leap forward in the world of digital printing. With their combination of durability, versatility, and vibrant color reproduction, they offer a compelling solution for a wide range of applications. Whether you’re a fashion designer looking to create unique apparel, a business owner seeking to personalize promotional items, or an industrial manufacturer in need of high-quality labels, UV DTF transfers provide the tools you need to make a lasting impression. As this technology continues to evolve, it is poised to play an increasingly important role in the future of printing.