“How to Make UV DTF Cup Wraps: A Step-By-Step Guide” -MAXDTF- UV Film Transfer Decal Supplier, UV DTF transfer Paper Wholesale, Made in China
UV DTF (Direct to Film) printing has revolutionized the way we customize and personalize products, offering high-quality, durable prints that are perfect for a wide range of applications. One popular use of UV DTF printing is creating custom cup wraps. These wraps can transform ordinary cups into unique, eye-catching items that are perfect for events, promotions, or even personal use. In this step-by-step guide, we’ll walk you through the process of making UV DTF cup wraps.
What You’ll Need
Before you start, make sure you have the following materials and equipment:
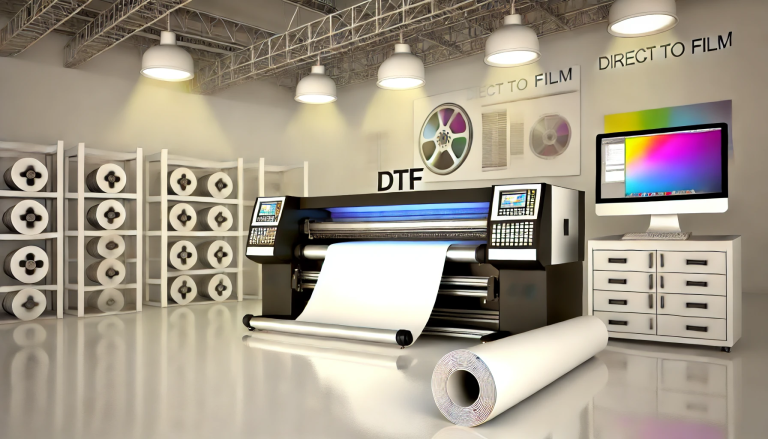
- UV DTF Printer
- DTF Film (for printing)
- Heat Press Machine
- Adhesive (for applying the printed film to the cup)
- Cups (clean and free of any residue)
- Design Software (for creating or editing your designs)
- Transfer Paper (optional, for transferring designs)
Step-by-Step Guide
Step 1: Design Your Wrap
- Choose Your Design: Start by selecting or creating a design that will be printed on your cup wrap. You can use design software like Adobe Photoshop, Illustrator, or free alternatives like Canva.
- Optimize Your Design: Ensure your design is optimized for printing. This includes checking the resolution (300 DPI is recommended) and ensuring the colors are accurate.
- Save Your Design: Save your design in a printable format, such as a high-resolution PNG or PDF.
Step 2: Prepare Your UV DTF Printer
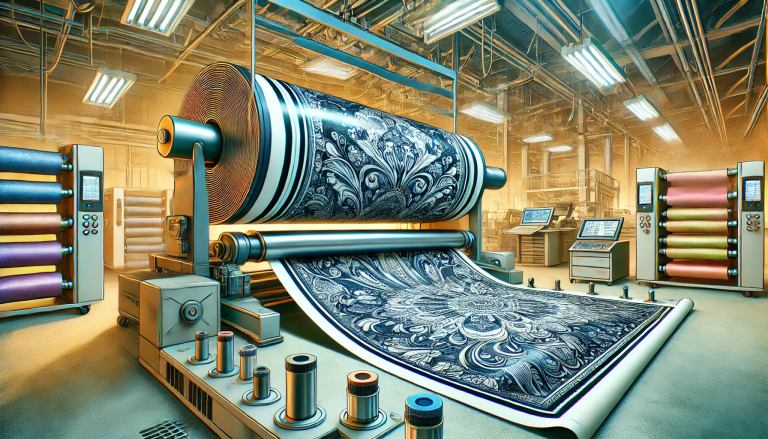
- Load the DTF Film: Insert the DTF film into your UV DTF printer. Make sure the film is properly aligned and ready for printing.
- Set Up the Printer: Configure your printer settings, including the desired resolution, color mode, and any additional options specific to your printer model.
Step 3: Print Your Design
- Print the Design: Send your design to the UV DTF printer. The printer will use UV ink to print your design onto the DTF film.
- Dry the Print: Some UV DTF printers may require you to dry the printed film. Follow the manufacturer’s instructions for drying the film, typically using a heat source or allowing it to air dry.
Step 4: Apply Adhesive
- Apply Adhesive: Once the print is dry, apply a thin layer of adhesive to the back of the printed film. This adhesive will help the film stick to the cup.
- Smooth the Adhesive: Use a squeegee or a similar tool to smooth out the adhesive and remove any air bubbles.
Step 5: Prepare the Cup
- Clean the Cup: Ensure the cup is clean and dry. Any residue or dirt on the cup could affect the adhesion of the wrap.
- Measure the Cup: Measure the circumference of the cup to determine the size of the wrap you need.
Step 6: Apply the Wrap to the Cup
- Cut the Wrap: Using scissors, cut the printed film to the appropriate size for your cup.
- Heat Press the Wrap: Place the cut wrap onto the cup, aligning it as desired. Use the heat press machine to apply heat and pressure to the wrap, ensuring it adheres securely to the cup. Follow the heat press settings recommended for your specific materials.
- Smooth the Wrap: Once the wrap is applied, use a soft cloth or a squeegee to smooth out any wrinkles or bubbles, ensuring a smooth and professional finish.
Step 7: Final Touches
- Inspect the Wrap: Check the wrap for any imperfections or areas that need repositioning. If necessary, carefully peel back the wrap and reapply it.
- Allow It to Set: Give the adhesive time to fully set, typically a few hours, before handling the cup.
Conclusion
Creating UV DTF cup wraps is a straightforward process that yields high-quality, durable results. With the right equipment and materials, you can transform ordinary cups into personalized, stunning items. Whether you’re creating wraps for a marketing campaign, a special event, or just for fun, UV DTF printing offers a versatile and effective solution.
By following this step-by-step guide, you’ll be able to produce professional-quality cup wraps that will impress your clients, customers, or guests. Happy printing!