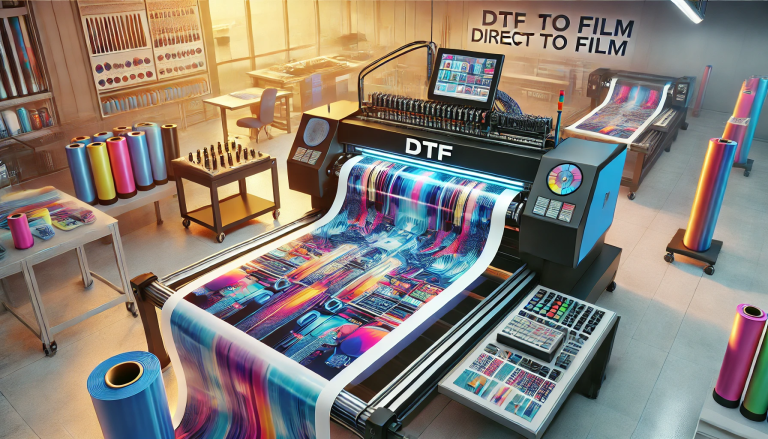
“Can You Remove a DTF Transfer?” -MAXDTF- UV DTF PET Decal Factory, UV DTF AB Decal Supplier, Made in China
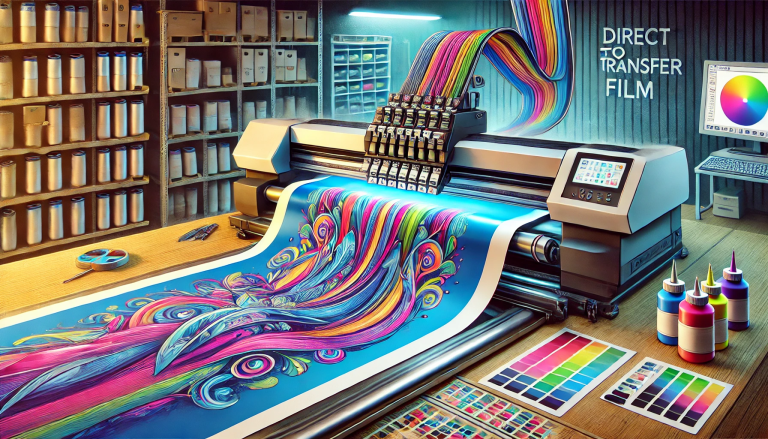
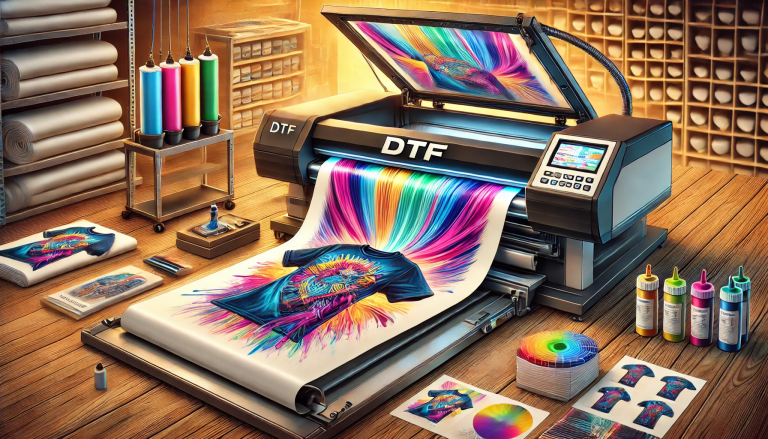
Direct-to-Film (DTF) transfers are beloved for their durability and vibrant results on fabrics, but a common question arises when mistakes happen or designs need updating: Can you remove a DTF transfer? The short answer is yes—but success depends on factors like the fabric type, curing method, and how long the transfer has been applied. Removing a DTF transfer is not a one-size-fits-all process, and improper techniques can damage the garment. This article explores the feasibility of DTF transfer removal, outlines effective methods, and highlights key considerations to avoid fabric harm.
Key Factors Affecting DTF Transfer Removability
Before attempting to remove a DTF transfer, it’s critical to understand the factors that influence how easily the design will come off. These variables determine which removal method is most appropriate and whether the garment can be salvaged.
1. Fabric Type
Natural fabrics like cotton and linen are more forgiving during removal, as they can withstand higher temperatures and chemical treatments better than synthetic fabrics (e.g., polyester, nylon). Synthetics are prone to melting or warping under heat, making some removal methods risky. Blended fabrics fall somewhere in between, requiring careful temperature control.
2. Curing Temperature and Time
DTF transfers rely on heat to bond the ink and adhesive to the fabric. Higher curing temperatures or longer curing times create a stronger bond, making the transfer harder to remove. Transfers cured at the lower end of the recommended range (320–350°F / 160–175°C) are typically easier to lift than those cured at higher temperatures.
3. Age of the Transfer
Freshly applied DTF transfers (within 24–48 hours) are easier to remove because the adhesive hasn’t fully set. Older transfers, especially those that have been washed multiple times, form a more permanent bond with the fabric fibers, increasing the difficulty of removal.
Effective Methods to Remove a DTF Transfer
When removing a DTF transfer, start with the gentlest method possible to minimize fabric damage. The following techniques are proven effective for different scenarios, from fresh transfers to older, well-cured designs.
1. Heat and Peel (Best for Fresh Transfers)
For transfers applied within a few days, the heat and peel method is the simplest and least damaging. Set a heat press to 300–320°F (149–160°C) and place a Teflon sheet over the transfer. Press firmly for 10–15 seconds, then immediately peel the transfer away while the fabric is still hot. The heat softens the adhesive, allowing the transfer to lift off in one piece. This method works best on cotton and linen and is ideal for correcting recent printing mistakes.
2. Chemical Adhesive Removers (For Stubborn Transfers)
For older or well-cured DTF transfers, chemical adhesive removers can break down the bond between the transfer and fabric. Choose a product designed for fabric use (e.g., Goo Gone, citrus-based removers) to avoid discoloration. Apply a small amount of the remover to a cotton swab and dab it onto the transfer, allowing it to soak for 5–10 minutes. Gently scrape the transfer with a plastic scraper (avoid metal to prevent fabric damage) until it lifts off. Rinse the garment thoroughly with water and launder as usual to remove any residual chemical.
3. Sandblasting or Abrasion (Last Resort for Tough Cases)
If other methods fail, light sandblasting or abrasion can remove stubborn DTF transfer residues. Use a fine-grit sandpaper or a rotary tool with a soft abrasive pad, and work gently in circular motions to avoid tearing the fabric. This method is only suitable for thick, durable fabrics like heavy cotton or canvas and should be used as a last resort. After abrasion, launder the garment to remove any loose fibers or transfer particles.
Important Precautions to Avoid Fabric Damage
Removing a DTF transfer carries the risk of damaging the garment, so it’s essential to take precautions before and during the process.
1. Test on a Hidden Area First
Always test the removal method on a hidden part of the garment (e.g., inside the seam) to check for discoloration, melting, or fabric damage. This step is especially critical for synthetic fabrics and colored garments.
2. Avoid Excessive Heat on Synthetics
Synthetic fabrics like polyester melt at high temperatures, so avoid using the heat and peel method on these materials. Opt for chemical removers or gentle abrasion instead.
3. Work in Small Sections
When using chemical removers or abrasion, work in small, manageable sections to prevent the remover from drying out or the fabric from becoming overworked. This ensures more controlled removal and reduces the risk of damage.
Conclusion
Removing a DTF transfer is possible, but the process requires careful consideration of fabric type, transfer age, and curing conditions. Fresh transfers can often be removed easily with heat and peel, while older, stubborn transfers may require chemical removers or light abrasion. By following the appropriate method and taking necessary precautions, you can salvage garments with unwanted DTF transfers without causing permanent damage. However, prevention is always better than cure—double-checking designs before printing and following proper curing guidelines can help avoid the need for transfer removal altogether.