“Unlocking the Potential of UV DTF Transfer: A Comprehensive Guide” -MAXDTF- UV DTF Transfer AB Paper Wholesale, DTF UV Paper Factory, Made in China
In the dynamic world of digital printing, UV DTF (Ultraviolet Direct-to-Film) transfer has emerged as a transformative technology, redefining what’s possible in textile and surface decoration. Blending the precision of UV curing with the versatility of DTF printing, this innovative method overcomes the limitations of traditional techniques—from embroidery to heat transfer vinyl—offering unmatched design flexibility, durability, and efficiency. Yet, many businesses and crafters remain unaware of its full potential. This comprehensive guide demystifies UV DTF transfer, explores its core mechanics, highlights untapped applications, and provides actionable strategies to maximize its value across industries.
1. Demystifying UV DTF Transfer: What It Is and How It Works
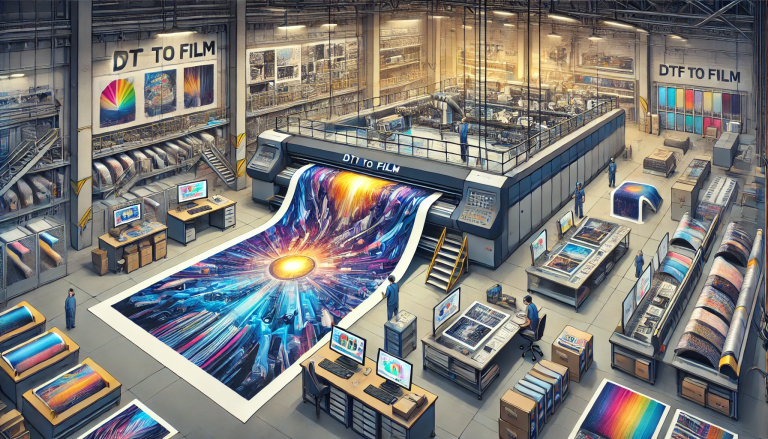
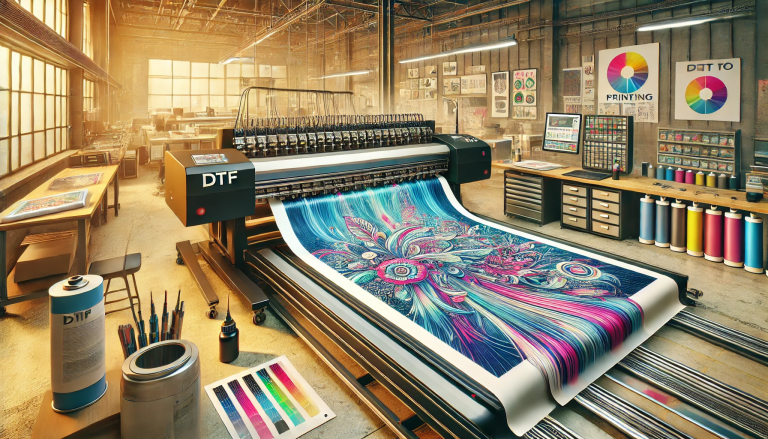
UV DTF transfer is a digital printing process that uses ultraviolet light to cure specialized inks onto a PET film, creating a durable, transferable design that bonds with various surfaces via heat pressing. Unlike conventional DTF printing, which relies on heat curing, UV DTF’s instant UV curing enables precise texture formation and eliminates smudging, unlocking new possibilities for 3D effects and intricate details.
The workflow of UV DTF transfer consists of four core steps, each critical to unlocking its full potential: First, a digital design is printed onto a PET film using UV-curable inks. Multiple layers can be applied to build 3D height, mimicking textures like embroidery or embossing. Second, a UV lamp cures each ink layer immediately after printing, ensuring sharp edges and stable texture—even for complex patterns. Third, an adhesive layer is added to the cured design to facilitate strong bonding with target surfaces. Finally, the prepped film is heat-pressed onto the material, transferring the design with a durable, flexible finish. This streamlined process minimizes human intervention and ensures consistent results, laying the groundwork for its wide-ranging applications.
2. Core Advantages: Why UV DTF Transfer Stands Out
To unlock UV DTF transfer’s potential, it’s essential to understand its unique advantages over traditional printing methods. These strengths make it a versatile solution for both small-batch customization and large-scale production.
2.1 Unmatched Design Versatility
UV DTF transfer breaks free from the constraints of traditional techniques. It supports full-color gradients, photo-realistic details, small text, and custom textures—from subtle raised effects to bold 3D patterns—that are impossible to achieve with embroidery or vinyl. Unlike thread-based embroidery, UV DTF inks can create seamless color blends, while its digital nature eliminates the need for weeding (a tedious step in vinyl printing). This flexibility empowers creators to bring even the most ambitious designs to life, from intricate logos to artistic motifs.
2.2 Superior Durability and Compatibility
UV-cured inks form a tough, flexible polymer layer that bonds tightly with surfaces, resisting fading, peeling, and fraying even after 50+ washes. This durability surpasses traditional embroidery (prone to thread breakage) and vinyl (susceptible to edge lifting). Additionally, UV DTF transfer works with a vast range of materials—cotton, polyester, leather, canvas, plastic, and coated wood—making it suitable for textiles, accessories, and home décor alike. Its ability to maintain flexibility on stretchy fabrics (e.g., activewear) further expands its utility.
2.3 Efficiency and Cost-Effectiveness
UV DTF transfer streamlines production with automated printing and curing, cutting turnaround time from days (for embroidery) to minutes. It eliminates setup fees, thread waste, and the need for skilled artisans, reducing per-unit costs for small-batch orders. For large-scale production, its consistency minimizes rejects, while instant curing boosts throughput. This balance of speed and cost-efficiency makes it accessible to hobbyists, small businesses, and large brands alike.
3. Untapped Applications: Expanding Beyond Textiles
While UV DTF transfer is widely associated with textiles, its potential extends far beyond clothing and accessories. By thinking beyond traditional use cases, businesses can unlock new revenue streams and creative possibilities.
3.1 Fashion and Apparel Innovation
In fashion, UV DTF transfer revolutionizes decorative accents. It creates faux embroidery effects on luxury jackets, textured monograms on handbags, and gradient patterns on activewear—all at a fraction of the cost of traditional embroidery. Fast-fashion brands use it for quick-turnaround seasonal designs, while luxury labels leverage its precision to replicate artisanal textures. Its compatibility with delicate fabrics like silk and stretchy spandex opens doors to designs previously deemed unfeasible.
3.2 Home Décor and Lifestyle Products
Home textile markets benefit greatly from UV DTF transfer’s durability and versatility. It adds decorative patterns to cushions, curtains, and table linens that resist sunlight fading and washing—ideal for high-traffic areas. Beyond soft furnishings, it can customize hard surfaces like wooden coasters, plastic storage boxes, and ceramic vases, creating cohesive, personalized home interiors. Its ability to replicate lace, embroidery, or embossed textures adds a touch of elegance without the maintenance challenges of traditional methods.
3.3 Promotional Merchandise and Branding
Brands and event organizers can unlock UV DTF transfer’s potential for personalized promotional items. It creates consistent, textured logos on caps, tote bags, and uniforms, ensuring brand recognition across all materials. Unlike embroidered logos, which distort on stretchy fabrics, UV DTF designs maintain their shape and texture, even after repeated use. For small-batch events (e.g., weddings, corporate retreats), it enables quick customization without compromising quality.
3.4 Niche Markets and Specialty Items
UV DTF transfer excels in niche sectors, where precision and durability are paramount. In children’s products, it creates non-toxic, fray-free designs on clothing and toys. In the automotive industry, it customizes interior panels and seat covers with sweat-resistant textures. For luxury goods, it adds subtle 3D branding to leather wallets and watches. Its compatibility with both natural and synthetic materials makes it a go-to solution for specialized applications.
4. Maximizing UV DTF Potential: Best Practices and Tips
To fully unlock UV DTF transfer’s value, adherence to best practices is essential. These strategies ensure consistent quality, extend material compatibility, and optimize production efficiency.
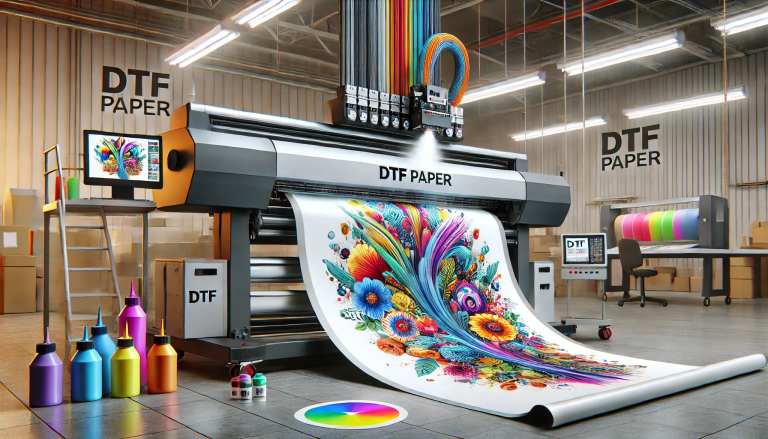
4.1 Invest in Quality Materials
The performance of UV DTF transfer hinges on high-quality inks, PET films, and adhesives. Choose UV-curable inks formulated for flexibility and color retention, and opt for PET films with a uniform receptive coating to prevent smudging. Eco-friendly options—such as recyclable films and low-VOC inks—not only align with sustainability goals but also enhance durability.
4.2 Master Curing and Heat Press Settings
Precise UV curing and heat press parameters are critical. Under-curing inks leads to peeling, while over-curing can make designs brittle. Calibrate UV lamps to match ink thickness, and follow recommended heat press settings (160-170°C, medium pressure, 15-20 seconds) for different materials. Test designs on sample materials first to fine-tune settings and ensure optimal bonding.
4.3 Leverage AI and Digital Tools
Integrate AI design tools to unlock limitless creativity. AI can generate custom textures, adjust 3D height, and optimize designs for UV DTF transfer in real time. Digital mockup tools help clients visualize final results, reducing revisions and speeding up production. For small businesses, pre-made design templates streamline customization, making UV DTF accessible to users with limited design experience.
5. Future Trends: The Evolving Potential of UV DTF Transfer
As technology advances, UV DTF transfer’s potential continues to expand. Emerging trends promise to elevate its capabilities, making it an even more indispensable tool in digital printing.
Sustainability is a key focus, with manufacturers developing biodegradable PET films and eco-friendly UV inks to reduce environmental impact. This shift will open doors to eco-conscious markets, from sustainable fashion to green home décor. Additionally, advancements in UV lamp technology will reduce energy consumption, making large-scale production more cost-effective and sustainable.
Cross-technology integration is another emerging trend. Combining UV DTF with cold transfer printing or sublimation will create hybrid effects that merge texture (from UV DTF) with vibrant color depth (from other methods). AI-driven automation will further streamline production, enabling on-demand customization at scale—from personalized clothing to one-off home décor items.
In conclusion, UV DTF transfer is a transformative technology with untapped potential across industries. By understanding its core mechanics, leveraging its unique advantages, and exploring innovative applications, businesses and crafters can unlock new levels of creativity, efficiency, and profitability. As trends like sustainability and AI integration shape its evolution, UV DTF transfer is poised to become the gold standard in digital printing, redefining what’s possible in custom decoration.