“The Comprehensive Guide to Printing DTF Stickers” -MAXDTF- PET Film DTF A4 Manufacturer, DTF cold peel Film Factory, Made in China
DTF (Direct-to-Film) printing has revolutionized the custom sticker industry, offering a versatile, high-quality alternative to traditional methods like vinyl cutting or screen printing. DTF stickers boast vibrant colors, intricate detail reproduction, and compatibility with a wide range of substrates—from glossy vinyl to matte paper and even textured surfaces. Whether you’re a hobbyist creating personalized decals or a business producing promotional stickers, this comprehensive guide walks you through every step of printing DTF stickers, from preparation to finishing, along with key tips for success.
1. Understanding DTF Sticker Printing: Core Basics
Before diving into the process, it’s essential to grasp what makes DTF sticker printing unique. Unlike direct-to-substrate printing, DTF sticker production involves transferring a design from a specialized PET film to the sticker substrate using heat and pressure. The process relies on three core components: DTF inks (water-based or UV-curable), hot-melt adhesive, and PET transfer film. When combined, these elements create a durable, flexible sticker that adheres strongly to various surfaces while maintaining vivid color quality.
A key advantage of DTF sticker printing is its ability to handle complex designs—gradients, photo-realistic images, and fine text—that are challenging or costly with other methods. Additionally, DTF works with both light and dark substrates without the need for a white underbase (though a white underbase can enhance color vibrancy on dark materials), making it a versatile solution for all sticker types.
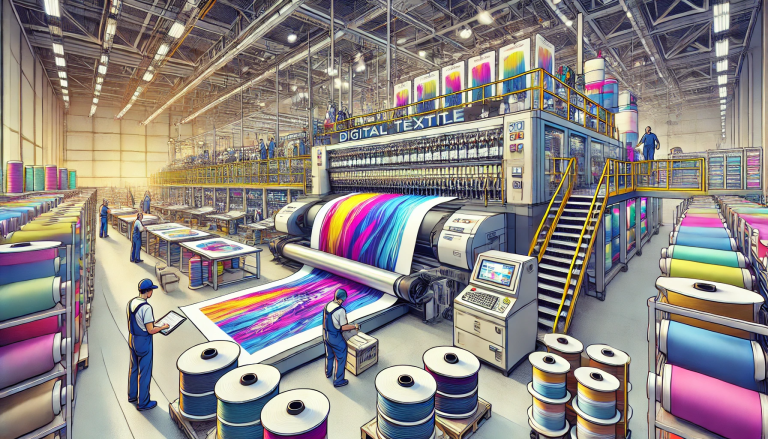
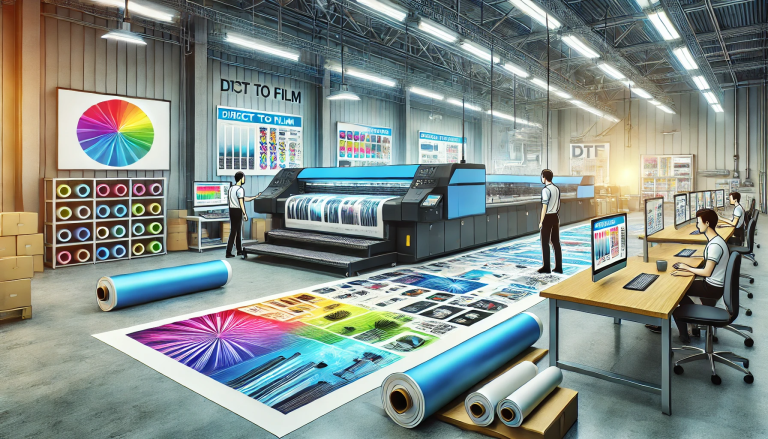
2. Essential Supplies and Equipment for DTF Sticker Printing
To print high-quality DTF stickers, you’ll need the right combination of supplies and equipment. Below is a detailed list of must-have items:
2.1 Core Printing Supplies
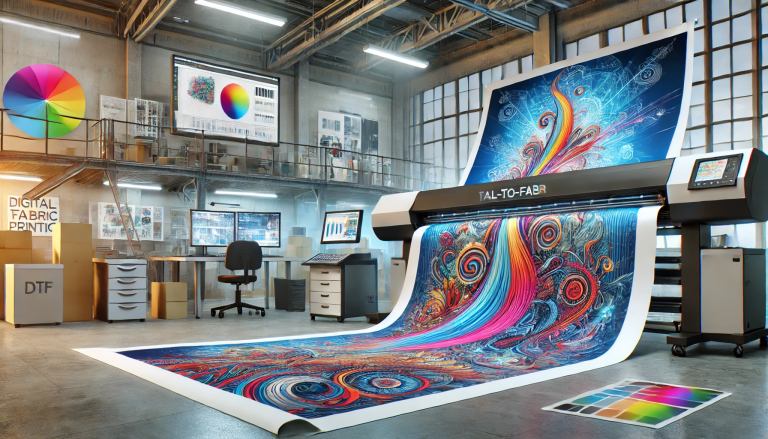
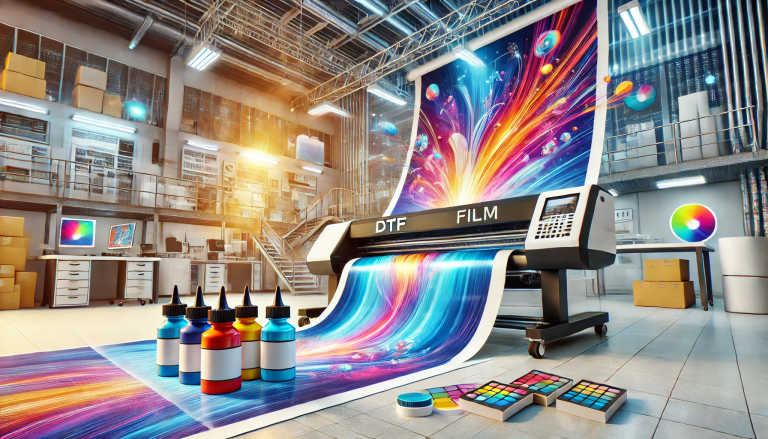
- PET Transfer Film: Choose a high-quality, sticker-specific PET film (typically 100–120μm thickness) that ensures smooth ink adhesion and easy transfer. Opt for matte or glossy film based on your desired sticker finish.
- DTF Inks: Select DTF inks compatible with your printer (water-based for heat-cured systems, UV-curable for UV DTF printers). High-quality inks ensure color vibrancy and long-term durability.
- Hot-Melt Adhesive: Use a fine-powder or liquid hot-melt adhesive formulated for sticker applications. Powder adhesive is ideal for most stickers, as it provides even coverage and strong adhesion.
- Sticker Substrates: Choose the substrate based on your needs—glossy vinyl (for durable, waterproof stickers), matte paper (for budget-friendly decals), or specialty substrates like clear vinyl or holographic film.
2.2 Required Equipment
- DTF Printer: A desktop or industrial DTF printer with precise ink deposition capabilities. For small-scale production, a compact A3 DTF printer is sufficient; larger businesses may opt for A2 or wider formats.
- Heat Press: A clamshell or swing-away heat press with temperature and pressure control (capable of reaching 140–160°C and 3–5 kg/cm² pressure) to ensure proper transfer of the design to the substrate.
- Curing Equipment: For water-based inks, use a conveyor dryer or heat press to cure the ink and adhesive (100–120°C for 2–5 minutes). For UV-curable inks, a UV curing lamp (365nm wavelength) will instantly cure the ink and adhesive.
- Cutting Tool: A vinyl cutter (for precise, automated cutting) or precision scissors (for small batches) to trim the sticker to its final shape.
- Auxiliary Tools: Desiccant packs (to store supplies), lint roller (to clean substrates), and a squeegee (to remove air bubbles during transfer).
3. Step-by-Step Guide to Printing DTF Stickers
Printing DTF stickers involves a structured process—from design preparation to finishing. Follow these steps for consistent, high-quality results:
3.1 Design Preparation
• Use graphic design software (e.g., Adobe Photoshop, CorelDRAW) to create or upload your sticker design. Ensure the design is high-resolution (300 DPI) to avoid blurriness.
• Adjust the design size to match your desired sticker dimensions. Add a 2–3mm bleed (extra design area around the edges) to prevent white borders after cutting.
• For dark substrates, add a white underbase layer to the design to enhance color vibrancy. Ensure the underbase is aligned perfectly with the top design to avoid misalignment.
3.2 Printing and Adhesive Application
• Load the PET transfer film into the DTF printer, ensuring it’s aligned correctly to avoid misprints. Calibrate the printer settings (ink density, print speed) for the film type.
• Print the design onto the PET film. Immediately after printing (before the ink dries), apply the hot-melt adhesive: use a powder shaker to evenly coat the printed design with powder adhesive, then shake off excess powder (reuse excess powder to reduce waste).
• Cure the printed film: For water-based inks, place the film in a dryer at 110°C for 3–4 minutes to melt the adhesive and dry the ink. For UV-curable inks, expose the film to UV light for 30–60 seconds to instantly cure.
3.3 Transferring the Design to the Sticker Substrate
• Prepare the substrate: Clean the sticker substrate with a lint roller to remove dust or debris, which can prevent proper adhesion.
• Position the cured PET film (design side down) onto the substrate. Place the assembly into the heat press and set the temperature to 150°C, pressure to 4 kg/cm², and press time to 15–20 seconds (adjust based on substrate thickness).
• Peel the PET film: Allow the film to cool for 1–2 minutes (cold peel) before slowly peeling it off the substrate. Cold peel ensures the ink and adhesive bond firmly to the substrate, preventing lifting.
3.4 Cutting and Finishing
• Cut the transferred design to its final shape using a vinyl cutter (load the substrate into the cutter and upload the cut file) or precision scissors for small batches.
• Optional finishing steps: Apply a clear laminate film to the sticker for added durability (waterproof, scratch-resistant). Use the heat press (130°C, 3 kg/cm², 10 seconds) to bond the laminate to the sticker.
• For roll stickers, wind the finished stickers onto a core for easy storage and application.
4. Common Issues and Troubleshooting Tips for DTF Stickers
Even with proper preparation, you may encounter issues during DTF sticker printing. Below are common problems and how to resolve them:
- Blurry or Faded Prints: Cause—low-resolution design or incorrect printer settings. Solution—use 300 DPI designs and adjust ink density to a higher setting.
- Poor Adhesion: Cause—insufficient heat/pressure during transfer or dirty substrate. Solution—increase heat/pressure slightly and ensure the substrate is clean before transfer.
- Adhesive Clumping: Cause—moisture in the powder adhesive or uneven application. Solution—store adhesive in an airtight container with desiccant packs and use a finer mesh shaker for even coating.
- Ink Smudging: Cause—print not fully cured before handling. Solution—extend curing time or increase curing temperature.
5. Best Practices for Long-Lasting DTF Stickers
To ensure your DTF stickers are durable and long-lasting, follow these best practices:
- Use high-quality supplies: Invest in premium inks, adhesive, and substrates—cheaper materials may fade or peel over time.
- Store finished stickers properly: Keep stickers in a cool, dry place (15–25°C, 40–60% humidity) in airtight containers to avoid moisture damage.
- Test before large batches: Always print a test sticker and apply it to the target substrate to check color accuracy, adhesion, and finish.
- Use laminate for outdoor stickers: Apply a UV-resistant laminate to stickers used outdoors to protect against fading and water damage.
Conclusion
Printing DTF stickers is a straightforward process that yields high-quality, versatile results—whether for personal use or business. By understanding the core basics, gathering the right supplies, and following the step-by-step guide outlined above, you can master DTF sticker printing and create vibrant, durable decals that stand out. Remember to troubleshoot common issues promptly and follow best practices for storage and finishing to maximize the lifespan of your stickers. With DTF technology, the possibilities for custom sticker designs are endless—let your creativity shine!