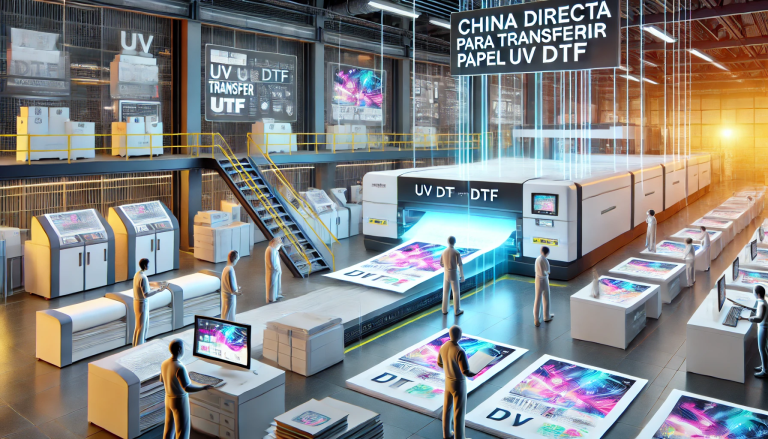
“Mastering UV DTF Printing on Black Shirts: A Comprehensive Guide” -MAXDTF- UV DTF AB Decal Supplier, UV Film Transfer Decal Factory, Made in China
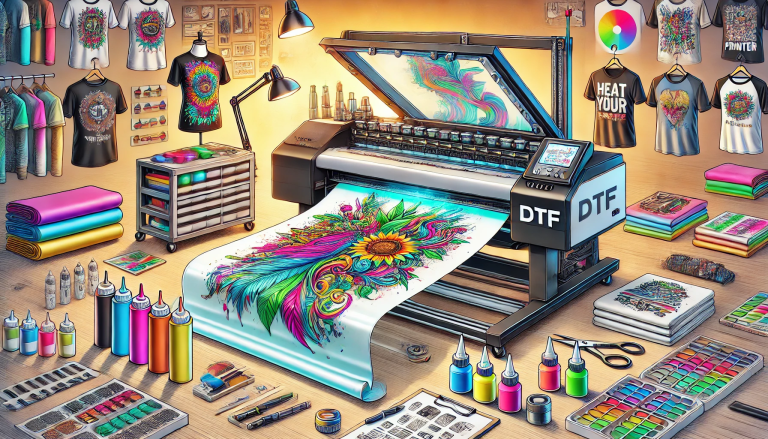
Black shirts stand as a timeless canvas for custom designs, but their dark hue poses unique challenges for printing—fading colors, poor contrast, and weak adhesion are common pitfalls. UV DTF (Ultraviolet Direct-to-Film) printing emerges as a game-changer, offering vibrant, durable results that pop against black fabric. Unlike traditional methods, UV DTF leverages UV-curable inks and adhesive technology to create sharp, wash-resistant designs that overcome the limitations of dark substrates. This guide breaks down the process into four core sections, equipping you with the knowledge to produce professional-grade UV DTF prints on black shirts, whether you’re a hobbyist or a commercial printer.
1. Foundational Insights: Why UV DTF Excels on Black Shirts
To master UV DTF printing on black shirts, it’s first essential to understand why this technology outperforms alternatives like DTG (Direct-to-Garment) or screen printing for dark fabrics. Black shirts absorb light, which can dull colors and obscure details—UV DTF addresses this with specialized chemistry and workflow.
1.1 The Science Behind UV DTF for Dark Fabrics
UV DTF printing relies on two key components that work in tandem to conquer black shirts: UV-Curable Inks: These inks dry (cure) instantly under UV light, forming a hard, pigment-rich layer that resists fading. Unlike water-based inks, they don’t absorb into black fabric—instead, they sit atop the surface, maintaining their vibrancy.White Ink Underlayer: The secret to contrast on black shirts. A thick, even white ink base acts as a “primer,” reflecting light and making subsequent color inks stand out. Without this layer, colors would blend into the black fabric.Hot-Melt Adhesive: UV DTF film incorporates adhesive that bonds the cured design to the shirt’s fibers, ensuring durability through repeated washes and wear—critical for black shirts, which often see frequent use.
1.2 UV DTF vs. Other Printing Methods for Black Shirts
Understanding how UV DTF compares to alternatives highlights its advantages: DTG Printing: Requires multiple white ink passes to achieve opacity, leading to longer print times and higher ink consumption. Designs may fade after 10–15 washes.Screen Printing: Needs separate screens for each color and a white underbase, making small batches cost-prohibitive. Designs can feel stiff and crack over time.UV DTF: Single-pass white underlayer application, faster curing, and flexible designs that move with the fabric. Prints retain vibrancy for 50+ washes and handle stretch without cracking.
2. Pre-Printing Preparation: Gear, Materials, and Design Optimization
Success on black shirts starts with meticulous preparation. From selecting the right materials to refining your design, every step ensures the final print is bright, sharp, and durable.
2.1 Essential Tools and Materials
Invest in quality equipment tailored to UV DTF and black fabric needs:UV DTF Printer: Choose a model with dedicated white ink channels (minimum CMYK + W) and UV curing lamps (e.g., Roland BN-20A, Mimaki CJV150-75). Ensure it supports fabric-compatible UV inks.UV DTF Inks: Opt for high-opacity white ink and vibrant CMYK inks (e.g., Epson Ultrachrome UV, Roland ECO-UV). White ink quality directly impacts color contrast—avoid generic brands.Fabric-Compatible DTF Film: Select flexible UV DTF film designed for textiles (not hard surfaces). Look for “stretch-resistant” labels to handle cotton or cotton-poly blends.Heat Press: A clamshell or swing-away model with temperature control (140–160°C/284–320°F) and even pressure (8–12 psi). Essential for activating the adhesive on black shirts.Black Shirts: Prefer 100% cotton or 50/50 cotton-poly blends (avoid 100% polyester, which may melt at heat press temps). Wash and dry shirts to remove sizing and residues.Supplementary Tools: Lint roller, precision cutter, heat-resistant tape, UV light meter (to ensure proper curing), and test fabric swatches.
2.2 Design Optimization for Black Shirts
Designs must be tailored to black backgrounds to maximize impact: Contrast is Key: Use bright, saturated colors (neon, primary hues) or metallic accents—pastels may still appear muted even with a white underlayer.White Ink Layer Setup: In design software (Adobe Illustrator, CorelDRAW), create a separate white ink layer beneath your color design. Set the white layer to 100% opacity and extend it 1–2mm beyond the color edges to prevent “haloing.”Resolution and Size: 300 DPI resolution for sharp details; scale the design to fit the shirt (e.g., 30x40cm for a chest print). Avoid overly intricate details that may get lost on black fabric.Mirroring: Do NOT mirror the design—UV DTF film transfers the design in the correct orientation when applied ink-side down.
3. Step-by-Step UV DTF Printing on Black Shirts
With preparation complete, follow this sequential process to achieve flawless prints on black shirts. Each step is critical for overcoming the challenges of dark fabric.
3.1 Print and Cure the UV DTF Film
- Prepare the Printer: Warm up the UV DTF printer for 10 minutes, run a nozzle check to ensure no clogs (especially in white ink channels), and load the fabric-compatible DTF film (ink-receptive side up).
- Send the Design to Print: In the printer software, select “Black Shirt” or “Dark Fabric” preset (if available). Configure settings for white ink first, then CMYK. Print speed: 30–40 cm²/min for optimal ink deposition.
- Cure with UV Light: The printer’s built-in UV lamps will cure the ink as it prints. Verify curing with a UV light meter—aim for 800–1000 mJ/cm². If under-cured, pass the film through a secondary UV curing unit for 5–10 seconds.
- Trim the Film: Use a precision cutter to trim the printed film, leaving a 5mm border around the design to prevent adhesive from seeping onto the heat press.
3.2 Prepare the Black Shirt and Heat Press
- Prep the Shirt: Use a lint roller to remove any dust or fibers from the print area. Iron the shirt on medium heat to eliminate wrinkles—wrinkles cause uneven adhesive bonding.
- Set Up the Heat Press: Preheat the press to 150°C (302°F) and adjust the pressure to 10 psi. Place a heat-resistant pad inside the shirt to prevent ink from bleeding through to the back.
3.3 Transfer the Design to the Shirt
- Position the Film: Lay the cured UV DTF film (ink-side down) on the black shirt, aligning it with the desired print area. Secure the film with heat-resistant tape to prevent shifting.
- Apply Heat and Pressure: Lower the heat press and apply pressure for 20–25 seconds. Ensure even pressure across the entire design—pay extra attention to edges, which are prone to lifting.
- Peel the Film: Use the “hot peel” method—immediately peel the carrier film away from the shirt at a 45-degree angle. This ensures the design adheres firmly to the fabric.
- Post-Heat for Durability: Press the design again (without the film) for 5 seconds to reinforce the adhesive bond. Let the shirt cool completely (5–10 minutes) before handling.
4. Pro Tips, Troubleshooting, and Long-Term Care
Elevate your prints and address common issues with targeted tips, while ensuring your designs stand the test of time on black shirts.
4.1 Pro Tips for Outstanding Results
- Double-Check White Ink Opacity: Print a test swatch on black fabric before the final shirt. If the white layer is translucent, increase white ink density in the printer settings (110–120% max).
- Use a Pre-Press Spray: For 100% cotton shirts, apply a light coat of fabric pre-press spray to improve adhesive bonding. Avoid over-spraying, which can cause ink bleeding.
- Layer Metallic Inks for Depth: Add a metallic silver or gold layer between the white underbase and color inks to create a reflective effect that pops on black fabric.
- Test Wash Before Delivery: Wash a sample shirt in cold water with mild detergent and tumble dry on low to ensure the design doesn’t fade or peel. This helps identify issues before fulfilling orders.
4.2 Long-Term Care for UV DTF-Printed Black Shirts
Advise customers on proper care to extend the life of their prints:Wash in cold water (30°C/86°F) with mild detergent—avoid bleach or fabric softeners.Tumble dry on low heat or hang to dry. High heat can weaken the adhesive bond.Iron inside out on low heat if needed—do not iron directly over the printed design.Avoid dry cleaning, as harsh chemicals can break down UV-cured inks.
4.3 Final Takeaways
Mastering UV DTF printing on black shirts boils down to three core principles: leveraging the white ink underlayer for contrast, using fabric-specific materials, and following precise curing and transfer steps. Unlike traditional methods, UV DTF empowers you to create vibrant, durable designs that transform black shirts into eye-catching custom pieces.
With practice, attention to detail, and the tips outlined in this guide, you’ll consistently produce professional-grade prints that stand out against black fabric—whether for personal projects, small businesses, or large-scale orders. The key is to test, adjust, and prioritize quality materials—your black shirt designs will thank you for it.