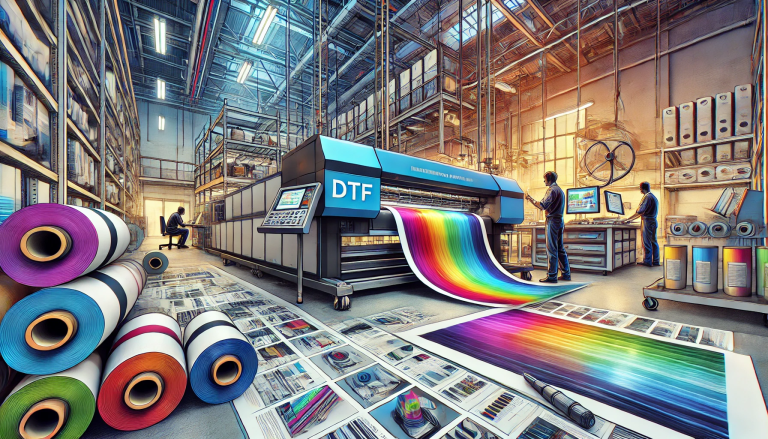
The fusion of sublimation printing and UV Direct-to-Film (DTF) technology has emerged as a groundbreaking trend in the customization industry, offering a unique blend of vibrant color penetration and versatile substrate compatibility. Sublimation printing, celebrated for its seamless, dye-infused results on polyester, and UV DTF film, renowned for adhering to diverse materials from cotton to wood, together create a printing solution that transcends the limitations of either technology alone. This comprehensive guide is designed to help printers, small business owners, and creative enthusiasts master the art of combining sublimation ink with UV DTF film—covering core concepts, step-by-step workflows, optimization tips, and troubleshooting strategies to ensure consistent, professional results.
Foundational Knowledge: Sublimation Printing and UV DTF Film Explained
Before diving into the integration process, it’s critical to understand the individual strengths and working principles of sublimation printing and UV DTF film, as these form the basis of their successful combination.
Sublimation Printing: How It Delivers Vibrant, Long-Lasting Color
Sublimation printing relies on a phase-change process: specialized sublimation inks (composed of disperse dyes) convert from solid to gas when exposed to high heat (180°C–210°C) and pressure, bypassing the liquid state. This gas penetrates the surface of polyester or polymer-coated substrates, and as it cools, it reverts to a solid, bonding permanently within the material’s fibers. Key advantages of sublimation include:
- Zero-feel finish with no visible texture, ideal for apparel and soft goods
- Exceptional color vibrancy and gradient smoothness
- Resistance to fading, peeling, and washing (up to 50+ cycles)
- Ability to print photorealistic images with high detail
The primary limitation of standalone sublimation is its reliance on polyester-based materials, which restricts its application range.
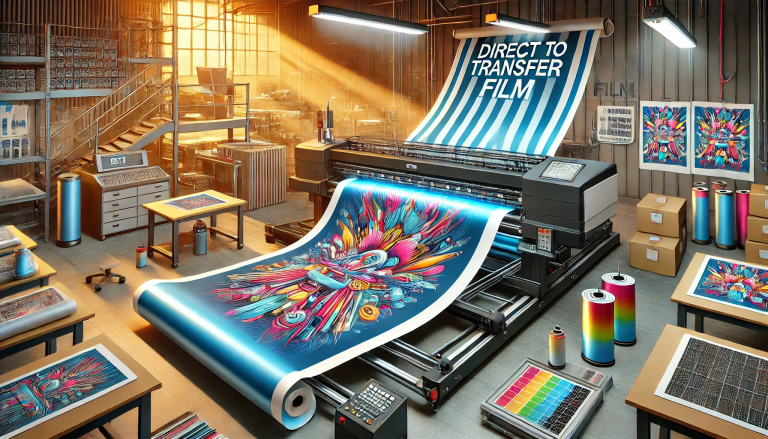
UV DTF Film: The Versatile Carrier for Cross-Substrate Transfers
UV DTF film is a multi-layered carrier material engineered for the DTF printing process, enhanced by UV curing technology. Its structure typically includes a heat-resistant base layer, a release coating (for easy post-transfer peeling), and a top ink-receptive layer optimized for UV-curable inks. Unlike traditional DTF film, UV DTF film uses ultraviolet light to crosslink inks and adhesive powders, creating a durable, scratch-resistant design. Core benefits of UV DTF film include:
- Compatibility with nearly all substrates (cotton, leather, metal, wood, plastic, etc.)
- Strong adhesive bond via hot-melt powder, ensuring long-term durability
- UV curing for instant ink setting, reducing production time
- Ability to handle both small-batch customization and medium-volume production
When paired with sublimation ink, UV DTF film acts as a bridge, allowing sublimation’s color quality to extend beyond polyester.
Key Compatibility Factors: Ensuring Sublimation and UV DTF Work in Harmony
The success of combining sublimation printing with UV DTF film hinges on addressing compatibility challenges between the two technologies. Focus on these critical factors to avoid common pitfalls:
1. Chemical Compatibility: Ink-Film Bonding
Sublimation ink’s disperse dyes require a polyester-based surface to adhere effectively. Opt for UV DTF film with a polyester top layer, as this chemical match ensures the ink spreads evenly and forms a stable bond. For non-polyester UV DTF films, use corona discharge or plasma treatment to increase surface tension—this creates micro-porosities that help the ink grip the film, preventing peeling during curing or transfer.
2. Thermal Stability: Balancing Sublimation Heat and Film Durability
Sublimation’s high heat (180°C–210°C) can warp or degrade standard UV DTF film, which is designed for lower DTF transfer temperatures (150°C–180°C). Select heat-resistant UV DTF film engineered with reinforced polyimide or polyester blends in the base layer—these materials tolerate sublimation temperatures without shrinking or losing structural integrity. Additionally, test film samples at different heat levels to identify the optimal balance between ink sublimation and film stability.
3. UV Curing Compatibility: Protecting Sublimation Ink
UV light can degrade sublimation ink’s disperse dyes, causing fading or color distortion. To mitigate this, use a “hybrid curing workflow”: print sublimation ink first, allow it to dry completely (1–2 minutes at room temperature), then apply a thin layer of UV-curable clear coat. The clear coat acts as a barrier, shielding the ink from UV radiation during the curing process while still leveraging the UV DTF film’s adhesive properties.
4. Hot-Melt Powder Integration: Ensuring Adhesion to Sublimation Ink
Sublimation ink dries to a porous, low-tack finish, which can hinder hot-melt powder adhesion. Adjust the ink’s drying time to leave a slightly tacky surface (reduce drying time by 30 seconds) or use adhesion-enhanced hot-melt powder formulated for sublimation applications. Apply the powder immediately after printing to capitalize on the ink’s residual tack, ensuring uniform coverage across the design.
Step-by-Step Workflow: Mastering Sublimation on UV DTF Film
Follow this structured process to achieve consistent, high-quality results when combining sublimation printing with UV DTF film. Each step is optimized to address compatibility challenges and maximize efficiency.
1. Pre-Work: Gather Materials and Prepare the Design
Assemble your supplies: sublimation printer (Epson SureColor F570 or similar), sublimation ink (CMYK + optional white for dark substrates), heat-resistant UV DTF film, adhesion-enhanced hot-melt powder, UV curing system, heat press (16”x20” or larger for versatility), and target substrate (e.g., cotton-poly blend t-shirt, wood panel).
Optimize your design in graphic software (Adobe Illustrator, CorelDRAW):
- Set resolution to 300 DPI for sharp details
- Add a white ink layer if printing on dark substrates (ensure it’s below the color layers)
- Scale the design to fit your UV DTF film size (A3 is ideal for most applications)
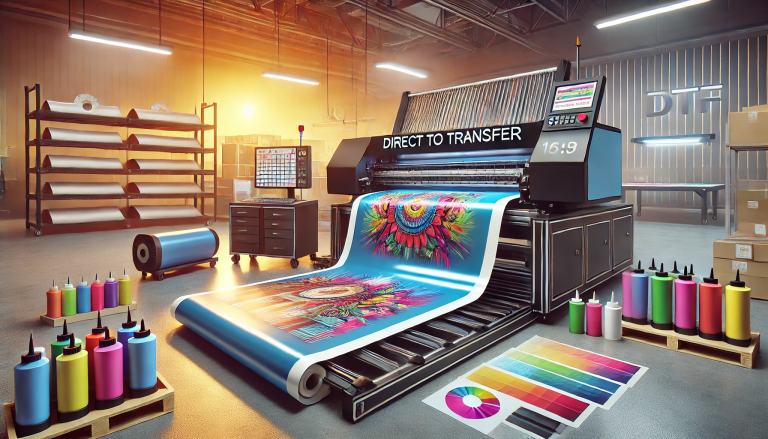
2. Print Sublimation Ink onto UV DTF Film
Load the heat-resistant UV DTF film into your sublimation printer (ensure the film’s ink-receptive side is facing up). Print the design, adjusting printer settings for optimal ink density: use medium ink coverage for soft substrates (apparel) and high coverage for hard substrates (metal, wood). Avoid over-saturating the film, as excess ink can cause bleeding during curing.
3. Apply Hot-Melt Powder and Dry
Immediately after printing, pass the UV DTF film through an automated powder shaker (preferred for even coverage) or manually sprinkle adhesion-enhanced hot-melt powder over the wet ink. Gently shake off excess powder—only the inked areas should retain powder. Allow the film to air-dry for 30 seconds to 1 minute, ensuring the ink is tacky but not wet.
4. Apply UV-Curable Clear Coat and Cure
Use a spray gun or roller to apply a thin, uniform layer of UV-curable clear coat over the powder-coated design. Ensure no areas are missed, as this coat protects the sublimation ink. Cure the film in a UV curing chamber (follow manufacturer’s guidelines: typically 30–60 seconds at 365nm wavelength). The clear coat will harden instantly, forming a protective barrier around the ink and powder.
5. Heat Transfer to the Substrate
Preheat your heat press to the optimal temperature for your substrate:
- Polyester/cotton blends: 180°C–190°C
- Hard substrates (wood/metal): 190°C–200°C
- Delicate materials (leather): 170°C–180°C
Place the UV DTF film (design side down) on the substrate. Apply pressure (30–50 psi) for 15–30 seconds—adjust time based on substrate thickness (thicker materials need longer). Allow the substrate to cool for 5–10 seconds, then peel the film away at a 45-degree angle (slowly for delicate designs) to reveal the finished transfer.
Optimization Tips for Professional-Grade Results
Elevate your sublimation-UV DTF prints with these expert tips, tailored to enhance color, durability, and efficiency:
1. Calibrate Your Printer for Color Accuracy
Sublimation ink colors can shift based on printer settings. Use a color calibration tool (e.g., X-Rite i1Pro) to create a custom color profile for your UV DTF film. This ensures the printed design matches your digital file, reducing rework and customer dissatisfaction.
2. Test Substrates and Film Combinations
Not all UV DTF films perform the same on every substrate. Conduct test prints on sample materials before starting bulk orders. For example, a rigid UV DTF film works best on wood, while a flexible film is better for stretchy apparel. Document successful combinations for future reference.
3. Use a Heat Press with Even Pressure Distribution
Uneven pressure can cause patchy transfers, especially on large designs. Invest in a heat press with a dual-zone heating element and adjustable pressure knobs. For curved substrates (e.g., mugs, hats), use a specialty heat press attachment to ensure full contact between the film and substrate.
4. Store Materials Properly to Maintain Quality
Sublimation ink and UV DTF film are sensitive to moisture and light. Store ink cartridges in a cool, dry place (15°C–25°C) and seal UV DTF film in airtight bags when not in use. Avoid exposing film to direct sunlight, as this can degrade the release coating over time.
Troubleshooting Common Issues
Even with careful preparation, challenges may arise. Use this troubleshooting guide to resolve the most frequent problems:
Issue 1: Sublimation Ink Peels from UV DTF Film
Cause: Poor ink-film bonding due to incompatible film or insufficient surface treatment.
Solution: Switch to UV DTF film with a polyester top layer. For non-polyester films, apply corona discharge treatment before printing. Increase ink density slightly to improve adhesion.
Issue 2: UV DTF Film Warps During Heat Transfer
Cause: Using standard UV DTF film instead of heat-resistant variants.
Solution: Replace with heat-resistant UV DTF film. Reduce heat press temperature by 10°C–15°C and extend press time by 5–10 seconds to compensate without warping.
Issue 3: Faded Colors After UV Curing
Cause: Sublimation ink exposed directly to UV light.
Solution: Ensure the UV-curable clear coat fully covers the design. Apply a second thin coat if needed. Reduce UV curing time by 10–15 seconds to minimize dye degradation.
Issue 4: Hot-Melt Powder Doesn’t Adhere to Ink
Cause: Ink dried too completely before powder application.
Solution: Apply powder immediately after printing (within 10–15 seconds). Use a tackifier spray on the ink if it dries too quickly. Switch to adhesion-enhanced hot-melt powder.
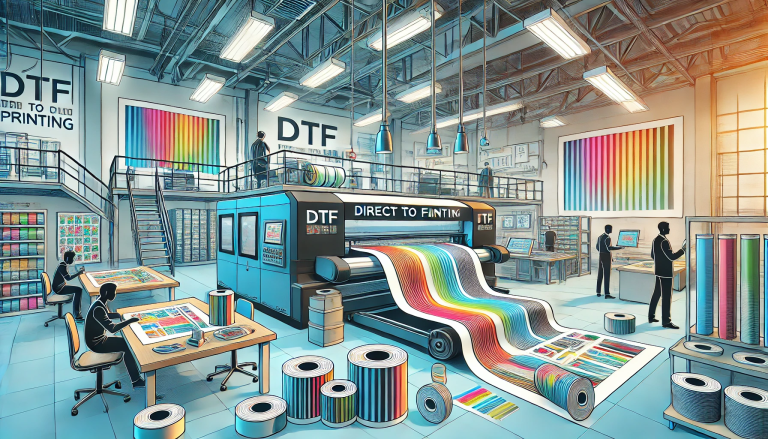
Applications and Market Opportunities
The combination of sublimation printing and UV DTF film opens new revenue streams across diverse industries. Here are the most profitable applications:
1. Apparel: Cotton-Poly Blends and Activewear
Sublimation’s color vibrancy pairs with UV DTF film’s cotton compatibility to create high-quality prints on blended t-shirts, hoodies, and sportswear. This addresses a longstanding gap in sublimation technology, allowing you to cater to customers who prefer natural fibers.
2. Home Decor: Custom Hard and Soft Goods
Print photorealistic designs on wood wall art, metal signs, polyester curtains, and canvas pillows. The versatility of UV DTF film means you can offer a cohesive line of custom home decor, appealing to interior designers and DIY homeowners.
3. Promotional Products: Branded Merchandise
Create durable, eye-catching branded items like water bottles, tote bags, and phone cases. Sublimation’s fade resistance ensures logos remain vibrant, while UV DTF film’s adhesion works on the plastic, metal, and fabric materials commonly used in promotions.
4. Outdoor Gear: Weather-Resistant Prints
The UV-cured clear coat and sublimation ink’s durability make this combination ideal for outdoor gear (jackets, backpacks, tents). Prints resist rain, sun, and abrasion, meeting the demands of adventure and sports brands.
Conclusion: Unlocking the Full Potential of Sublimation and UV DTF
Mastering sublimation printing with UV DTF film requires understanding the unique properties of both technologies and addressing compatibility challenges through strategic material selection and workflow optimization. By following the steps outlined in this guide—from choosing heat-resistant film to applying a protective clear coat—you can create prints that combine sublimation’s color excellence with UV DTF’s substrate versatility.
This hybrid approach not only expands your service offerings but also positions you ahead of competitors still limited by standalone printing methods. Whether you’re a small business owner looking to diversify or a crafter seeking professional results, the fusion of sublimation and UV DTF film is a powerful tool that will drive creativity and growth in the dynamic customization market.