“Print with Confidence – Get the Most Out of Your DTF Printing Supplies!” -MAXDTF- DTF Paper A3 Supplier, DTF Transfer Sheets Factory, Made in china
Direct-to-Film (DTF) printing has become a go-to choice for custom apparel, promotional products, and crafts, thanks to its versatility and high-quality results. However, mastering DTF printing relies heavily on correctly using its core supplies—from films and inks to adhesive powders and tools. This guide breaks down the proper usage of DTF printing supplies, walking you through each step of the process, essential tips, and common pitfalls to avoid, ensuring consistent, professional outcomes every time.
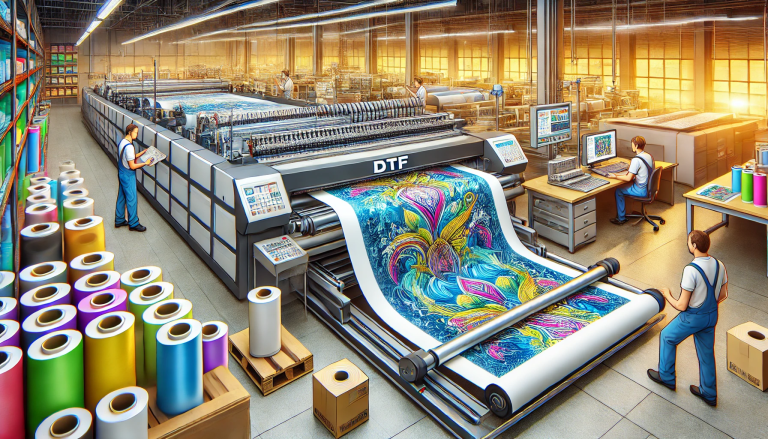
1. Essential DTF Printing Supplies: An Overview
Before diving into usage, familiarize yourself with the key supplies that power DTF printing. Each component plays a critical role in the final result, so understanding their functions is the first step to success.
1.1 Core Supplies and Their Purposes
The primary DTF printing supplies include: DTF Film (PET-based medium for printing designs), DTF Inks (water-based or UV-curable inks formulated for adhesion),DTF Adhesive Powder (bonds printed designs to substrates), a Heat Press (activates the adhesive and sets the design), and application tools (powder shaker, film trimmer, and cleaning supplies). Optional supplies like pre-treatment sprays (for porous substrates) and protective films (for durability) can enhance results.
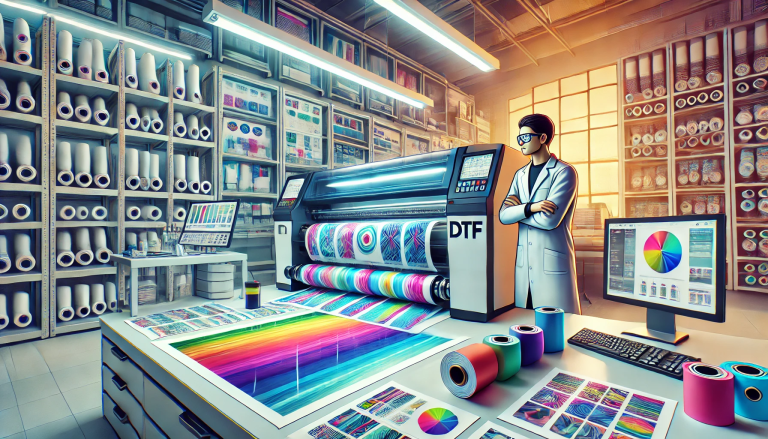
1.2 Selecting Compatible Supplies
Not all DTF supplies are interchangeable. Ensure your film, inks, and adhesive powder are compatible—e.g., UV DTF inks work only with UV-curable DTF film, while standard DTF inks pair with traditional PET film. Choose supplies tailored to your substrate (fabric, wood, plastic) and printer type (desktop or industrial) to avoid adhesion issues and poor print quality.
2. Step-by-Step Guide to Using DTF Printing Supplies
Using DTF printing supplies requires a systematic approach, from pre-print preparation to post-transfer finishing. Follow these steps for optimal results.
2.1 Pre-Print Preparation: Prep Supplies and Design
Start by preparing your supplies and design. First, inspect the DTF film for wrinkles or damage—smooth out any creases to prevent misprints. Load DTF inks into your printer, ensuring ink levels are sufficient and no clogs exist (run a test print if needed). Optimize your design in graphic software: set resolution to 300–600 DPI, mirror the image (for correct orientation post-transfer), and add a white ink underlayer for dark substrates.
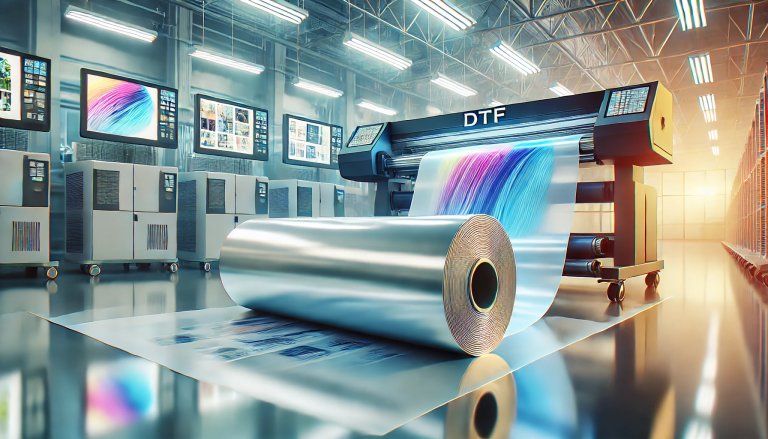
2.2 Printing on DTF Film
Load the DTF film into your printer with the receptive coating side up (check the film’s label for guidance—this side absorbs ink). Print the design according to your printer’s settings, adjusting speed and ink density for crisp details. For UV DTF systems, ensure the UV lamps are calibrated to cure ink instantly; for standard DTF, allow the printed film to air-dry for 5–10 minutes (or use a dryer) to eliminate excess moisture.
2.3 Applying DTF Adhesive Powder
Once the printed film is dry, apply DTF adhesive powder. Use a powder shaker or automatic coater to spread a thin, even layer over the entire printed design—avoid over-application (leads to cracking) or under-application (causes weak adhesion). Gently tap off excess powder (reuse it for future projects) to ensure only the inked area is coated. For better results, cure the powder briefly with a heat gun (100–120°C) for 10–15 seconds to set it lightly.
2.4 Heat Press Transfer to Substrate
Preheat your heat press to the manufacturer’s recommended temperature (140–160°C for most fabrics, 160–180°C for hard substrates) and adjust pressure to medium. Clean the substrate to remove dust, oils, or debris—use alcohol wipes for non-porous surfaces or pre-treatment spray for cotton. Position the printed film (powder side down) on the substrate, cover with a Teflon sheet, and press for 10–15 seconds. Allow the film to cool completely (2–3 minutes) before peeling off the PET carrier—peeling too early causes smudging.
2.5 Post-Transfer Finishing
After peeling the carrier film, inspect the design for adhesion and consistency. For fabric substrates, wash the item inside out after 24 hours to test durability. For hard substrates, apply a clear protective spray or UV post-cure (for UV DTF) to enhance scratch resistance. Store leftover supplies properly: seal DTF film and powder in airtight containers, and keep inks away from direct sunlight.
3. Pro Tips for Using DTF Supplies Effectively
Elevate your DTF printing results with these expert tips for using supplies efficiently and avoiding common mistakes.
3.1 Handle DTF Film with Care
DTF film is sensitive to moisture and fingerprints. Wear gloves when handling it to prevent oil transfer, and store unused film in a cool, dry place. Avoid touching the receptive coating side, as this can disrupt ink absorption and adhesion.
3.2 Optimize Adhesive Powder Usage
Sift clumpy powder before use to ensure uniform application. For small designs, use a fine-tip brush to apply powder precisely, reducing waste. Always match powder type to substrate—flexible powder for stretchy fabrics, rigid powder for hard surfaces.
3.3 Maintain Consistency in Curing
Calibrate your heat press regularly to ensure consistent temperature and pressure. Invest in a temperature gun to verify heat distribution—hot spots can damage substrates, while cool spots lead to poor adhesion. For UV DTF, check lamp intensity weekly to avoid under-curing.
4. Common Mistakes to Avoid When Using DTF Supplies
Even with proper preparation, misusing DTF supplies can ruin prints. Steer clear of these common errors:
- Using Incompatible Supplies: Mixing UV and standard DTF supplies causes ink bleeding and adhesion failure.
- Over-Curing or Under-Curing: Over-curing makes designs brittle; under-curing leads to peeling.
- Ignoring Substrate Prep: Dirty or unprimed substrates prevent the adhesive powder from bonding effectively.
- Storing Supplies Poorly: Exposing powder to humidity causes clumping, while sunlight degrades inks and film.
Conclusion
Using DTF printing supplies correctly is the key to achieving vibrant, durable prints across diverse substrates. By understanding the role of each supply, following the step-by-step workflow, and implementing pro tips, you can master DTF printing—whether for hobbyist projects or commercial production. Remember to prioritize compatibility, proper storage, and consistent technique, and don’t hesitate to test supplies on sample substrates before bulk printing. With practice, you’ll leverage DTF supplies to create high-quality, long-lasting custom designs effortlessly.