“How to Transfer DTF (Direct to Film) Powder: A Step-by-Step Guide” -MAXDTF- China UV DTF Paper, Direct Transfer UV DTF Paper Manufacturer, Made in China
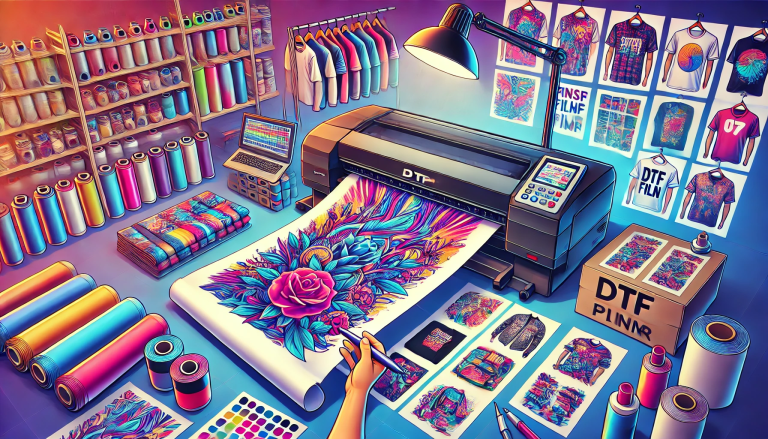
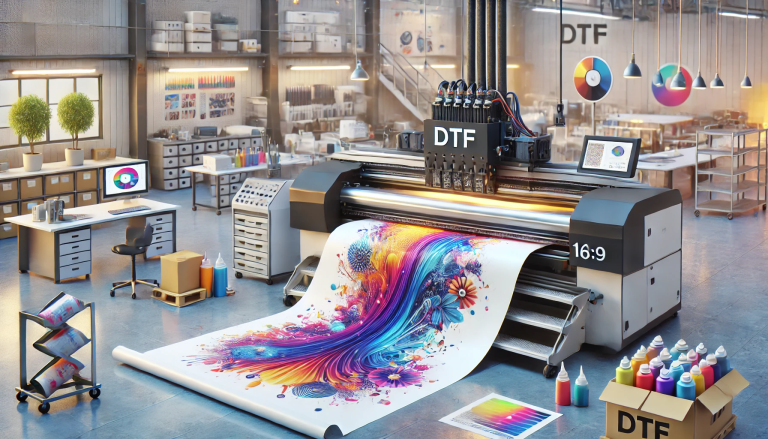
Direct to Film (DTF) printing has revolutionized the world of digital printing, offering a versatile and cost-effective solution for transferring designs onto various surfaces. One of the key components of the DTF process is the transfer of DTF powder, which plays a critical role in ensuring the vibrancy, durability, and longevity of the printed designs. Whether you’re a seasoned professional or a newcomer to the world of DTF printing, understanding how to effectively transfer DTF powder is essential for achieving high-quality results. In this article, we will provide a comprehensive, step-by-step guide on how to transfer DTF powder, covering everything from preparation to final application.
1. Understanding the DTF Powder Transfer Process
Before delving into the step-by-step instructions, it’s essential to understand the role of DTF powder in the printing process. DTF powder is a specialized adhesive powder that bonds with the inkjet-printed designs on a transfer film. Once the powder is applied and cured, it forms a layer that ensures the ink adheres securely to the substrate during the transfer process. The powder also enhances the durability and washability of the print, making it ideal for applications such as apparel, home decor, and promotional materials.
The transfer process involves several key steps, including printing the design onto the transfer film, applying the DTF powder, curing the powder, and finally transferring the design onto the desired surface. Each step requires careful attention to detail to achieve optimal results. By mastering these steps, you can ensure that your DTF prints are not only vibrant and detailed but also long-lasting and durable.
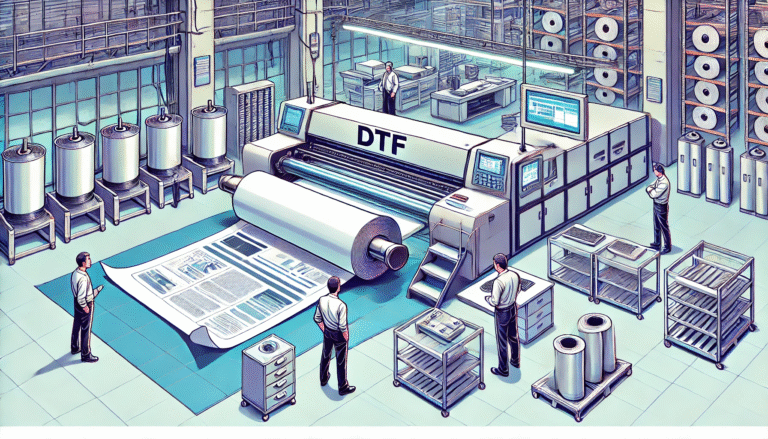
2. Preparing the Transfer Film and Design
The first step in the DTF powder transfer process is preparing the transfer film and design. Start by creating your design using graphic design software such as Adobe Photoshop or Illustrator. Ensure that your design is properly formatted for printing, with the correct resolution and color settings. Once your design is ready, load the transfer film into your inkjet printer.
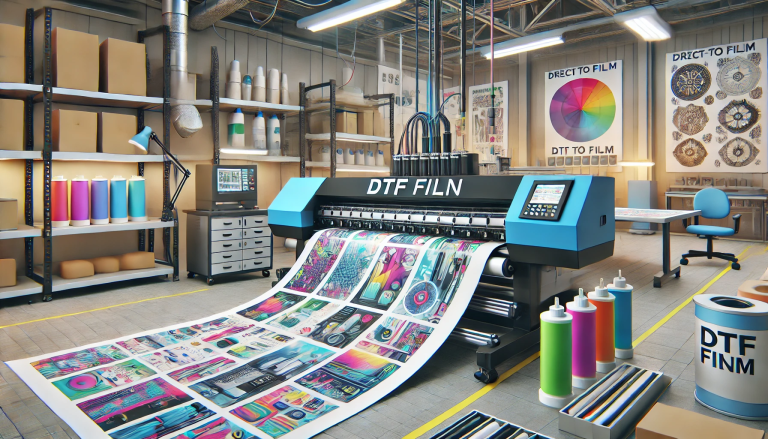
When selecting the transfer film, it’s crucial to choose a high-quality film designed specifically for DTF printing. The film should be compatible with your printer and capable of supporting the ink and powder layers effectively. Before printing, clean the printer’s printheads to ensure there are no blockages or clogs that could affect the quality of the print.
Once the film is loaded and the printer is ready, print your design onto the film. Ensure that the print is crisp and free of smudges or imperfections. Inspect the printed design carefully, making any necessary adjustments or reprints before proceeding to the next step.
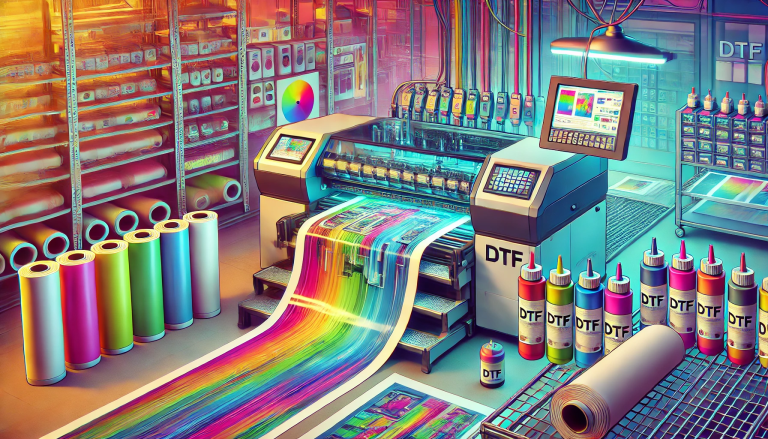
3. Applying and Curing the DTF Powder
After printing the design onto the transfer film, the next step is to apply the DTF powder. Start by placing the printed film onto a flat surface, with the ink side facing upwards. Using a powder coating machine, evenly distribute the DTF powder over the entire surface of the printed design. Ensure that the powder is applied uniformly to achieve consistent bonding and adhesion.
Once the powder is applied, use a soft brush or cloth to gently remove any excess powder from the surface. This ensures that only the powder that has bonded with the ink remains on the film, improving the overall quality of the transfer.
Next, cure the powder using a UV curing machine. Place the film, with the powder side facing upwards, into the curing machine. Set the appropriate curing time and UV intensity based on the specifications of your powder and machine. During the curing process, the UV light activates the adhesive properties of the powder, bonding it securely to the ink.
After curing, allow the film to cool before handling. The cured powder layer should be glossy and smooth, indicating that the bonding process was successful.
4. Preparing the Substrate and Transfer Process
With the powder cured and the transfer film ready, it’s time to prepare the substrate onto which the design will be transferred. Ensure that the substrate is clean, dry, and free of any dust or debris. This is particularly important for textiles, where any contamination can affect the adhesion of the print.
If you’re transferring the design onto a dark or colored substrate, it’s essential to apply a white underbase first. This ensures that the colors of the design remain vibrant and true to life. To do this, repeat the entire process with a white design printed on the transfer film, apply and cure the powder, and then transfer the white underbase onto the substrate before applying the final design.
Once the substrate is ready, position the transfer film, with the cured powder side facing downwards, onto the surface. Use a heat press or a DTF rolling machine to apply pressure and transfer the design onto the substrate. The pressure activates the adhesive properties of the powder, bonding the ink to the substrate.
For optimal results, follow the recommended temperature, pressure, and time settings for your specific substrate and equipment. After transferring the design, carefully peel away the transfer film, leaving the vibrant and durable print on the substrate.
5. Post-Transfer Care and Maintenance
The final step in the DTF powder transfer process is post-transfer care and maintenance. After transferring the design, allow the substrate to cool and cure completely. This ensures that the ink and powder bond fully, enhancing the durability and longevity of the print.
For textiles, it’s essential to follow the care instructions provided by the manufacturer to maintain the quality of the print. Avoid high-temperature washing or drying, as this can weaken the bond between the ink and the fabric. Instead, use cold or lukewarm water and gentle detergents to wash the printed items.
In addition to caring for the printed items, it’s crucial to maintain your DTF printing equipment to ensure consistent results. Regularly clean the inkjet printer’s printheads, powder coating machine, and UV curing machine to prevent any issues that could affect the quality of your prints. Keep spare parts and consumables on hand, allowing you to quickly address any problems that arise.
Conclusion
Transferring DTF powder is a critical step in the DTF printing process, and mastering this technique is essential for achieving high-quality, durable prints. By following this step-by-step guide, you can ensure that each step of the process is executed with precision and care, resulting in vibrant, long-lasting designs. Whether you’re printing on textiles, promotional materials, or other substrates, understanding how to effectively transfer DTF powder will unlock the full potential of your DTF printing setup.
As you continue to explore the world of DTF printing, remember that practice and attention to detail are key. With time and experience, you’ll develop a keen eye for the nuances of the process, allowing you to create stunning, professional-quality prints that exceed your expectations.