“How to do UV DTF Printing at Home: A Beginner’s Guide” -MAXDTF- Direct Transfer UV DTF Film Wholesale, UV Film Transfer Film Factory, Made in China
UV DTF (Direct to Film) printing has revolutionized the industry of custom designs, taking it to another level. What once was only achievable in professional printing labs, is now possible right from your home. If you’re intrigued by this groundbreaking technology and want to take a dip into the DIY UV DTF printing world, then this guide is for you.
In essence, UV DTF printing is a combination of traditional UV printing and DTF (Direct to Film) printing. It allows you to print full-color images onto almost any material using special UV-curable ink, including hard surfaces like metal, plastic, or glass. The best part? You can perform UV DTF printing at home if you have the right equipment. Here’s a step-by-step guide.
While UV DTF printing can be done at home, consistent results depend heavily on correct printing, curing, and transfer steps.
For a complete overview of the DTF application workflow, please refer to our DTF Application Guide.
Gather Your Materials
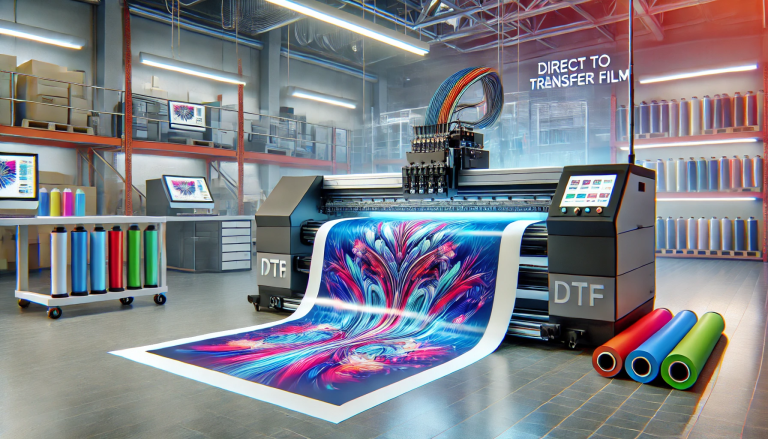
1. UV DTF Printer
Your journey begins with the UV DTF printer itself. These printers can range in size and price depending on your specific needs. Make sure you choose a printer that suits your budget and the scale of the projects you have in mind.
2. UV DTF Ink
You’ll need specialized UV-curable inks designed for UV DTF printing. This ink will not dry unless exposed to UV light, hence making it possible to print on a wide range of surfaces.
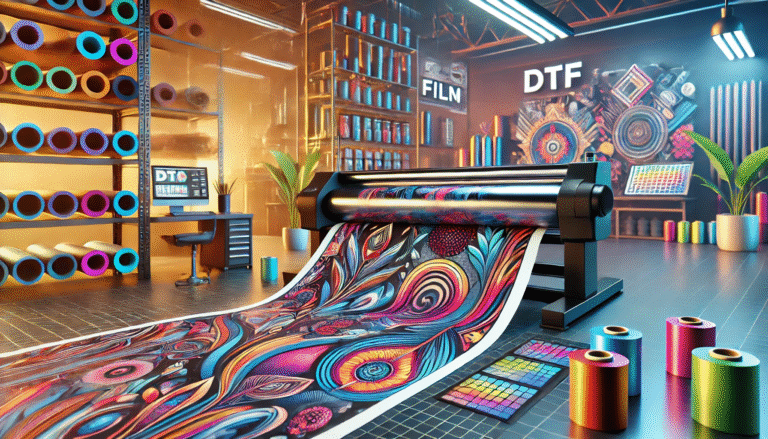
3. UV DTF Films
UV DTF films are essentially the canvases you print your designs on before transferring them to your chosen materials. Ensure the films are compatible with your printer and the materials you intend to print on.
4. UV Light Source
A UV light source is needed to cure the ink once it’s applied to the material. Some printers have a built-in UV light, but if not, you’ll need to purchase this separately.
Start the UV DTF Printing Process
1. Design Preparation
Create or select the image you wish to print. Ensure it is of high resolution for the best result. Use design software like Adobe Illustrator or Photoshop to adjust your image’s size and colors to match your final product’s requirements.
2. Print the Image
Once your design is ready, load the UV DTF film into your printer, and print your design. Make sure the film is oriented correctly in the printer. Your design will be printed onto the film using the UV-curable ink.
3. Curing the Print
After printing, expose the UV DTF film to the UV light source. This process cures the ink, making it dry and adhesive, ready for application to your chosen material.
4. Transferring the Image
Now, place the UV DTF film with the design onto your chosen material. Ensure the design is correctly positioned. Apply heat and pressure for the ink to adhere well. Heat press machines can be handy for this step. The temperature and time of pressing may vary depending on your materials, so check any instructions provided with your film.
5. Final Curing
Once the image is transferred, expose the material to the UV light source one more time. This final cure ensures the image is completely dry and firmly attached to the material.
Safety Measures
Remember, you are dealing with UV lights, which can be harmful if not used correctly. Always wear protective gear like UV-safe glasses and gloves, and only operate the UV light in a well-ventilated area.
Conclusion
UV DTF printing is an exciting technology, making custom design more accessible and versatile. With the right equipment and a bit of practice, you can create beautiful, vibrant prints on a wide range of materials right from your home. Start your UV DTF printing journey today and unlock a world of endless creative possibilities.