“A Comprehensive Guide on How to Use UV DTF Film” -MAXDTF- China UV Film Transfer Film, China DTF UV Film, Made in China
In the realm of modern printing technology, UV DTF (Ultraviolet Direct to Film) film has emerged as a game-changer, revolutionizing the way we decorate a vast array of substrates. Unlike traditional printing methods that are limited by material compatibility, UV DTF film offers unparalleled versatility, allowing users to transfer high-quality, durable designs onto surfaces ranging from plastic and metal to glass, wood, and even curved or irregular objects. Whether you’re a small business owner looking to expand your custom product offerings, a crafter eager to elevate your DIY projects, or a printing professional seeking efficient solutions, mastering the use of UV DTF film is a valuable skill. This comprehensive guide will walk you through every step of the process, from understanding the basics of UV DTF film to troubleshooting common issues, ensuring you achieve flawless results every time.
1. Understanding UV DTF Film: What It Is and Why It Matters
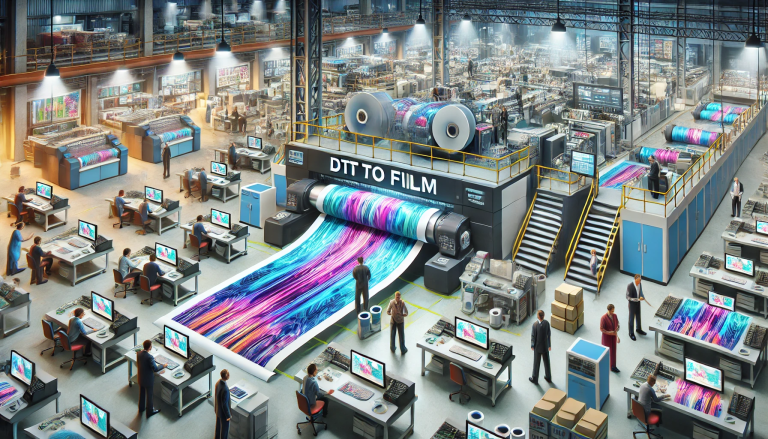
Before diving into the practical steps, it’s essential to grasp the core concepts of UV DTF film. UV DTF film is a specialized printing medium that combines the advantages of UV curing technology and Direct to Film (DTF) printing. The process involves printing a design onto a transparent or white DTF film using UV inks, which are then instantly cured (dried) by UV light. Once cured, the design is coated with a layer of adhesive, allowing it to be transferred onto the desired substrate.
The key benefits of UV DTF film include:
- Exceptional Versatility: Works on nearly all non-porous and porous materials, including difficult-to-print surfaces like ceramics, leather, and acrylic.
- Durability: UV-cured inks are resistant to fading, scratching, water, and UV radiation, ensuring long-lasting designs.
- High-Quality Output: Delivers sharp details, vibrant colors, and smooth gradients, making it ideal for intricate designs and full-color graphics.
- Cost-Effectiveness: Eliminates the need for pre-treatment of substrates, reducing material and labor costs.
- User-Friendly: Suitable for both beginners and professionals, with straightforward operation and minimal equipment requirements.
2. Essential Tools and Materials
To get started with UV DTF film, you’ll need to gather the right tools and materials. The following list outlines the essentials, as well as optional items that can enhance your workflow:
2.1 Core Equipment
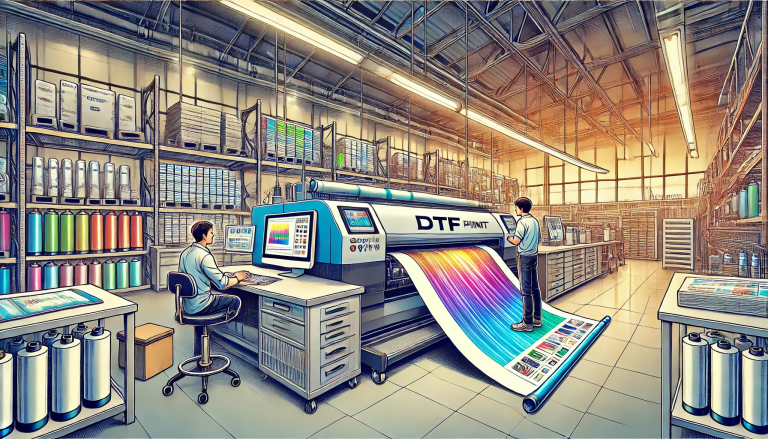
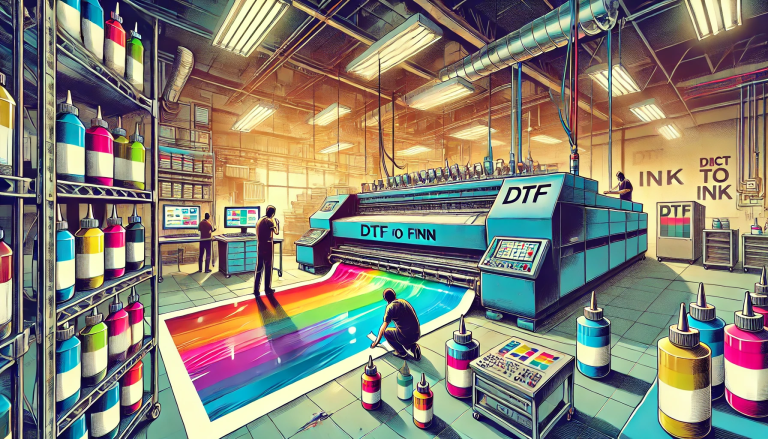
- UV DTF Printer: The centerpiece of the process. Choose a printer specifically designed for UV DTF applications, as it comes equipped with UV ink systems and curing lamps. Printers vary in size (from desktop models for small projects to industrial-grade machines for large-scale production) and ink capacity, so select one that fits your needs.
- UV Curing System: While most UV DTF printers have built-in curing lamps, standalone systems (such as LED UV curing lamps) can be used for additional curing or for projects where the printer’s built-in lamp is insufficient.
- Laminator (Optional): A laminator can be used to apply a protective film over the printed design, adding an extra layer of durability and resistance to abrasion.
- Cutting Tool: Depending on your project, you may need a vinyl cutter, scissors, or a craft knife to trim the UV DTF film to the desired size.
- Transfer Tool: A squeegee, rubber roller, or heat press (for heat-assisted transfer) helps ensure the film adheres evenly to the substrate without air bubbles or wrinkles.
2.2 Materials
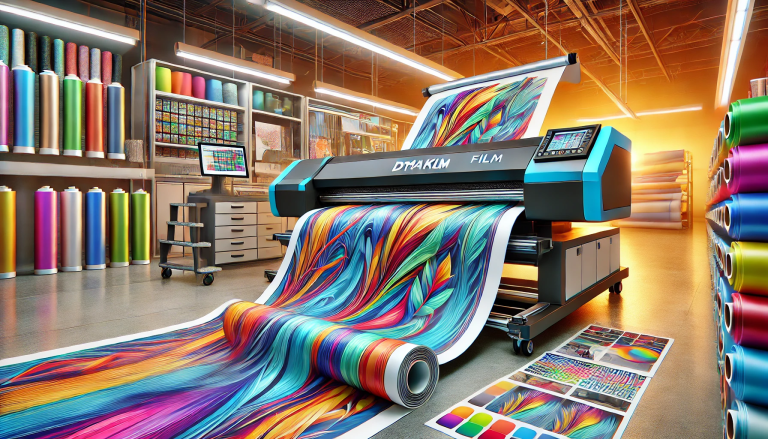
- UV DTF Film: Available in various types, including transparent, white, and colored films. White film is ideal for dark substrates, as it provides a base for vibrant colors, while transparent film works well for light-colored or transparent surfaces.
- UV Inks: Use high-quality UV-curable inks that are compatible with your printer and DTF film. These inks come in CMYK (cyan, magenta, yellow, key/black) and often include white ink for opaque designs.
- Adhesive Layer: Some UV DTF films come pre-coated with adhesive, while others require you to apply a separate adhesive layer after printing and curing. Ensure the adhesive is compatible with both the film and the substrate.
- Substrates: The material you want to decorate, such as mugs, phone cases, bottles, wood plaques, metal signs, or glassware. Clean the substrate thoroughly before transfer to remove dust, oil, or debris.
- Cleaning Supplies: Alcohol wipes, lint-free cloths, and mild detergent to clean the substrate and printer components.
3. Step-by-Step Guide to Using UV DTF Film
Now that you have all the necessary tools and materials, let’s walk through the step-by-step process of using UV DTF film, from preparing your design to completing the transfer.
3.1 Step 1: Prepare Your Design
The first step is to create or select a design that suits your project. Use graphic design software such as Adobe Photoshop, Illustrator, CorelDRAW, or even free tools like Canva. Keep the following tips in mind when designing:
- Size and Resolution: Set the design size to match the dimensions of your substrate, with a small margin (1-2mm) to account for trimming. Use a resolution of at least 300 DPI (dots per inch) to ensure sharp, high-quality output.
- Color Considerations: If printing on a dark substrate, include a white underlayer in your design to make the colors pop. Most UV DTF printers allow you to set the white ink layer in the print settings.
- Reverse Printing (if needed): For transparent substrates (such as glass), you may need to reverse the design so that it appears correctly when viewed from the front.
Once your design is ready, save it in a format compatible with your printer (e.g., PNG, JPG, or vector formats like AI or EPS) and transfer it to the printer’s control software.
3.2 Step 2: Load the UV DTF Film into the Printer
Properly loading the film is crucial to avoid jams and ensure even printing. Follow these steps:
- Turn on the printer and allow it to warm up (follow the manufacturer’s instructions for warm-up time).
- Cut the UV DTF film to a size slightly larger than your design (this prevents the printer from pulling in empty space).
- Open the printer’s media tray and adjust the guides to fit the width of the film. Ensure the guides are snug but not too tight, as this can cause the film to warp.
- Load the film into the tray with the printable side facing up (check the film’s packaging for guidance on the printable side—usually, it’s the smoother side).
- Close the tray and select the correct media type (UV DTF Film) in the printer’s software. This tells the printer to use the appropriate ink density and curing settings.
3.3 Step 3: Print and Cure the Design
With the film loaded and the design ready, it’s time to print and cure:
- In the printer’s control software, preview the design to ensure it’s aligned correctly with the film. Adjust the position if necessary.
- Select the print settings, including ink type (CMYK + white if needed), print speed, and curing intensity. For beginners, it’s recommended to use the printer’s default settings for UV DTF film, then adjust based on results.
- Start the print job. As the printer prints the design, the built-in UV curing lamp will instantly cure each layer of ink. This ensures the ink dries quickly and adheres firmly to the film.
- After printing, if your design requires a white underlayer, print the white ink first, cure it, then print the color layers on top. This ensures the colors are vibrant and opaque.
- Once printing is complete, allow the film to cool for 1-2 minutes. For added durability, you can pass the film under a standalone UV curing lamp for an extra 30 seconds to 1 minute.
3.4 Step 4: Apply the Adhesive Layer
If your UV DTF film does not come pre-coated with adhesive, you’ll need to apply it manually. Follow these steps:
- Ensure the printed film is fully cured and cool to the touch.
- Apply a thin, even layer of UV DTF adhesive to the printed side of the film using a brush, roller, or spray bottle. Avoid applying too much adhesive, as this can cause the design to smudge or the film to bubble during transfer.
- Cure the adhesive layer using the UV curing lamp for 30 seconds to 1 minute, or until it’s tacky but not wet.
For pre-adhesive films, simply peel off the protective liner to expose the adhesive.
3.5 Step 5: Prepare the Substrate
A clean, smooth substrate is essential for strong adhesion. Follow these steps to prepare it:
- Wipe the substrate with a lint-free cloth dampened with alcohol to remove dust, oil, and fingerprints. For greasy or dirty substrates, use a mild detergent, then rinse and dry thoroughly.
- Ensure the substrate is completely dry before proceeding. Any moisture can prevent the adhesive from sticking properly.
- If the substrate is curved or irregular, gently shape the UV DTF film to match the contour (avoid folding or creasing the film, as this can damage the design).
3.6 Step 6: Transfer the Design to the Substrate
The transfer process varies slightly depending on the substrate and whether you’re using heat assistance. Here’s the general method:
- Position the printed side of the UV DTF film (with the adhesive exposed) onto the substrate. Align it carefully, as the adhesive will stick quickly.
- Once aligned, press the film firmly onto the substrate using a squeegee or rubber roller. Start from the center and work your way outwards to remove air bubbles and ensure even adhesion.
- For heat-assisted transfer (recommended for materials like metal, plastic, or leather), use a heat press set to 100-120°C (212-248°F) and apply light pressure for 10-20 seconds. This helps the adhesive bond more strongly to the substrate.
- Allow the film and substrate to cool completely (2-3 minutes) before proceeding.
3.7 Step 7: Peel Off the Film Backing
Once the film is fully adhered and cooled, it’s time to remove the backing:
- Gently lift one corner of the UV DTF film’s backing (the non-printed side) at a 45-degree angle.
- Slowly peel the backing away from the substrate, ensuring the printed design stays in place. If the design starts to lift with the backing, press the film back down and use the squeegee or heat press again to reinforce adhesion.
- Once the backing is removed, inspect the design for any air bubbles or wrinkles. If you find any, use a pin to puncture the bubble, then press the area flat with a squeegee.
3.8 Step 8: Apply a Protective Layer (Optional)
For added durability, especially for items that will be exposed to frequent handling, moisture, or sunlight, apply a protective layer:
- Laminating Film: Use a laminator to apply a clear laminating film over the design. This adds scratch resistance and a glossy or matte finish.
- UV Clear Coat: Spray a thin layer of UV-curable clear coat over the design, then cure it with a UV lamp. This enhances durability and UV resistance.
4. Tips and Best Practices for Flawless Results
To ensure consistent, high-quality results with UV DTF film, follow these expert tips:
- Test First: Always perform a test print and transfer on a scrap piece of the substrate before starting your final project. This allows you to adjust print settings, adhesive application, and transfer pressure as needed.
- Store Materials Properly: UV DTF film and inks should be stored in a cool, dry place away from direct sunlight. Exposure to heat or light can cause the film to warp or the inks to cure prematurely.
- Maintain the Printer: Regularly clean the printer’s print heads, curing lamps, and media guides to prevent clogs and ensure smooth operation. Follow the manufacturer’s maintenance schedule.
- Control Humidity and Temperature: The ideal printing environment is between 20-25°C (68-77°F) with a humidity level of 40-60%. Extreme temperatures or humidity can affect ink curing and film adhesion.
- Use the Right Adhesive: Different substrates require different adhesives. For example, flexible adhesives are best for leather or silicone, while rigid adhesives work well for glass or metal.
5. Troubleshooting Common Issues
Even with careful preparation, you may encounter issues during the UV DTF process. Here are some common problems and their solutions:
5.1 Issue: The Design Smudges After Printing
Causes: Insufficient curing, low ink quality, or the film’s printable side was loaded incorrectly.
Solutions: Increase the curing time or intensity, use high-quality UV inks, and double-check that the film’s printable side is facing up.
5.2 Issue: Air Bubbles or Wrinkles During Transfer
Causes: Improper alignment, uneven pressure during transfer, or dust on the substrate.
Solutions: Align the film carefully before pressing, use a squeegee to apply even pressure from the center outwards, and ensure the substrate is clean and dry.
5.3 Issue: The Design Peels Off the Substrate
Causes: Inadequate adhesive, dirty substrate, or insufficient heat/pressure during transfer.
Solutions: Apply a thicker layer of adhesive (or use a more compatible adhesive), clean the substrate thoroughly, and increase the heat or pressure during transfer.
5.4 Issue: Faded or Dull Colors
Causes: Low ink density, incorrect color settings, or no white underlayer on dark substrates.
Solutions: Adjust the ink density in the printer settings, calibrate the colors, and add a white underlayer when printing on dark materials.
6. Conclusion
UV DTF film opens up a world of possibilities for custom printing, offering versatility, durability, and high-quality results that traditional methods can’t match. By following this step-by-step guide, gathering the right tools and materials, and adhering to best practices, you’ll be able to create stunning, long-lasting designs on almost any substrate. Whether you’re decorating promotional products, personalizing gifts, or enhancing your DIY projects, UV DTF film is a reliable and efficient solution. With a little practice and patience, you’ll master the art of UV DTF printing and take your creative or business endeavors to the next level.