“Mastering the Art of UV Direct-to-Film Transfers: A Comprehensive Guide” -MAXDTF- DTF UV Paper Supplier, UV DTF AB Paper Manufacturer, Made in China
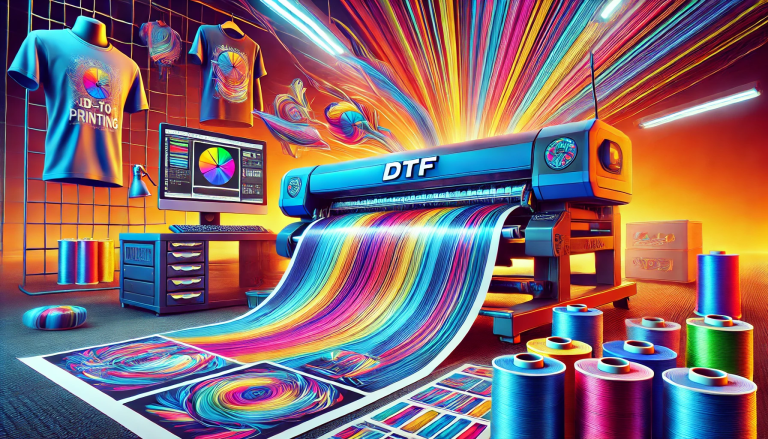
Direct-to-Film UV (UV DTF) transfers have revolutionized digital printing with their instant curing, vibrant color payoff, and multi-substrate versatility. This advanced technique merges UV curing technology with DTF transfer principles, enabling durable, high-resolution designs on fabrics, hard surfaces, and beyond. Mastering UV DTF transfers requires understanding specialized equipment, materials, and precise workflows. This complete guide equips you with the knowledge to perfect UV DTF transfers, from setup to troubleshooting, and achieve professional-grade results consistently.
1. Understanding UV DTF Transfers: Core Fundamentals
Before mastering the craft, it’s essential to grasp what sets UV DTF transfers apart from traditional printing methods and their unique operational principles.
1.1 What Are UV DTF Transfers?
UV DTF transfers involve printing designs onto specialized PET film using UV-curable inks, which cure instantly under UV light. The printed film, coated with a pressure-sensitive adhesive layer, is then transferred to substrates via heat pressing or cold lamination. Unlike standard DTF, UV curing eliminates drying time, ensuring smudge-proof, scratch-resistant prints with intense color retention—making it ideal for on-demand production and high-wear applications.
1.2 Key Advantages of UV DTF Over Traditional Methods
UV DTF transfers offer distinct benefits that elevate printing outcomes: instant UV curing boosts workflow efficiency; UV-cured inks deliver superior durability against fading, water, and abrasion; and the technique supports high-resolution details (fine lines, gradients, photos) on both porous and non-porous substrates. Unlike sublimation, UV DTF requires no pre-treated materials, expanding creative possibilities significantly.
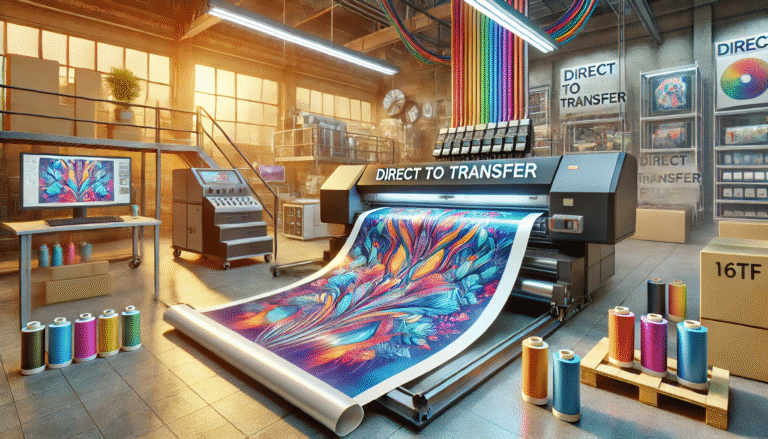
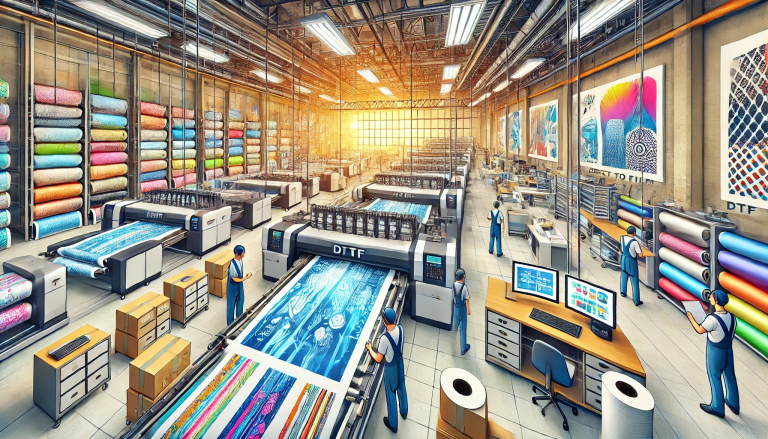
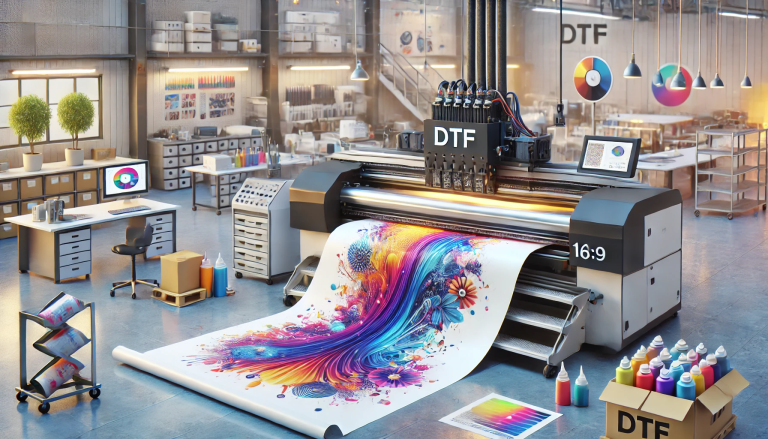
2. Essential Equipment and Materials for UV DTF Success
The right tools and materials are foundational to mastering UV DTF transfers. Investing in quality supplies and understanding their functions ensures consistent results.
2.1 Must-Have Equipment
Core equipment includes a UV DTF Printer (equipped with precision inkjet heads and adjustable UV lamps), a Heat Press (with temperature/pressure control for substrate compatibility), and application tools (automatic powder coater, film trimmer, UV light meter). Desktop printers suit small businesses/hobbyists, while industrial models cater to high-volume production. A temperature gun helps verify heat distribution for uniform transfers.
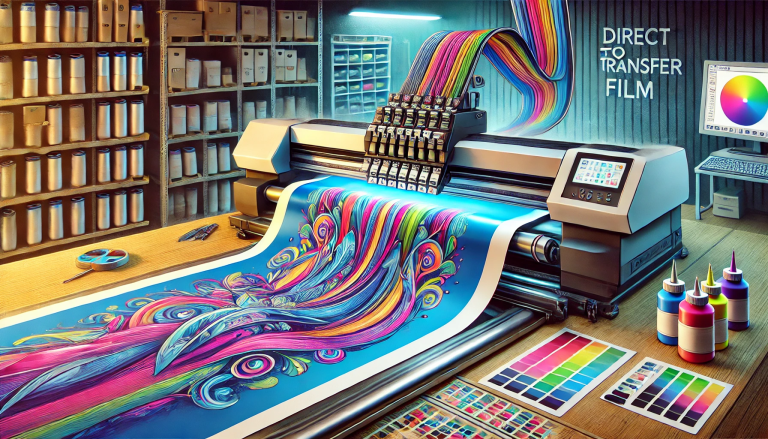
2.2 Critical Materials
Opt for high-grade UV DTF Film (PET-based with a receptive coating for ink adhesion) and UV-Curable Inks (formulated with photoinitiators for instant curing). Choose CMYK ink sets for full color, plus white ink for dark substrates. Pair with UV-Compatible Adhesive Powder (high-tack, fine-grain) to ensure strong substrate bonding. Optional supplies: pre-treatment sprays (for porous materials) and clear protective films (for enhanced durability).
3. Step-by-Step Workflow for Perfect UV DTF Transfers
UV DTF transfers demand a systematic approach. Follow this step-by-step process to master the technique and avoid common errors.
3.1 Pre-Transfer Preparation
Optimize designs in graphic software (300–600 DPI resolution), mirror images for correct orientation, and add a white ink underlayer for dark substrates. Inspect UV DTF film for wrinkles (smooth creases to prevent misprints) and load compatible UV inks into the printer—run a test print to check for clogs or ink inconsistencies.
3.2 Printing and Instant UV Curing
Load UV DTF film with the receptive coating side up (refer to film labels). Print the design, activating the printer’s UV lamps for instant curing. Adjust lamp intensity based on film thickness (thicker films need higher intensity) to ensure full curing—avoid tackiness by curing again if necessary. Inspect prints for uneven ink coverage or smudges before proceeding.
3.3 Adhesive Powder Application
Apply a thin, even layer of UV-compatible adhesive powder to the cured print using a coater or shaker. Tap off excess powder (reusable) to cover only the inked area—over-application causes cracking, while under-application weakens adhesion. Briefly cure the powder with low-intensity UV light or a heat gun (100–120°C for 10–15 seconds) to set it lightly.
3.4 Heat Press Transfer
Preheat the heat press to 140–160°C (lower for fabrics, higher for rigid substrates) and set medium pressure. Clean substrates: use alcohol wipes for non-porous surfaces, pre-treatment spray for cotton. Position the film (powder side down) on the substrate, cover with a Teflon sheet, and press for 10–15 seconds. Allow full cooling (2–3 minutes) before peeling the PET carrier to avoid smudging.
3.5 Post-Transfer Finishing
Inspect transfers for adhesion and consistency. For hard substrates, apply a clear protective spray or 30-second UV post-cure for scratch resistance. For fabrics, wait 24 hours before washing inside out to test durability. Store leftover supplies in airtight containers in a cool, dark place to preserve quality.
4. Pro Tips to Elevate UV DTF Transfer Quality
Refine your skills with these expert tips to achieve museum-worthy UV DTF transfers and optimize workflow efficiency.
4.1 Handle Materials with Precision
Wear gloves when handling UV DTF film to avoid fingerprint oil transfer, which disrupts ink absorption. Avoid touching the receptive coating side and store film away from moisture and sunlight.
4.2 Calibrate Equipment Regularly
Clean printer heads weekly and calibrate UV lamps to maintain consistent curing. Verify heat press temperature with a gun to avoid hot/cool spots, and adjust pressure based on substrate thickness.
4.3 Match Materials to Substrates
Use flexible adhesive powder for stretchy fabrics and rigid powder for hard surfaces (wood, metal). Pair UV DTF film with compatible inks—mixing UV and standard DTF supplies causes adhesion failure.
5. Troubleshooting Common UV DTF Transfer Issues
Resolve setbacks quickly with targeted solutions to common UV DTF problems:
- Poor Adhesion: Clean substrates thoroughly, optimize heat press settings, or switch to high-tack adhesive powder.
- Uneven Color or Fading: Increase UV lamp intensity, use premium inks, or add a white underlayer for dark substrates.
- Film Peeling/Bubbling: Ensure uniform heat distribution, avoid over-curing, and reduce adhesive powder application.
Conclusion
Mastering UV DTF transfers is a blend of technical knowledge, quality materials, and consistent practice. By understanding the fundamentals, investing in the right equipment, following a precise workflow, and troubleshooting proactively, you can unlock the full potential of this innovative technique. Whether creating custom apparel, promotional products, or art pieces, UV DTF transfers enable vibrant, durable designs that stand the test of time. With dedication and the insights from this guide, you’ll elevate your craft and stand out in the competitive printing landscape.