Mastering the Art of UV Printing Direct to Film: A Comprehensive Guide, UV on Adhesive Sticker at Adhesive Factory, UV Film Transfer Manufacturer, China
UV printing direct to film (UV DTF) has emerged as a cutting-edge technique in the digital printing realm, blending the precision of UV curing technology with the versatility of direct-to-film transfer. This method empowers printers to create vibrant, durable designs on a wide range of substrates—from fabrics to hard surfaces—with unmatched efficiency and detail. Mastering UV DTF requires a deep understanding of equipment, materials, workflows, and best practices. This comprehensive guide breaks down every essential aspect to help you elevate your UV printing direct to film skills and achieve professional-grade results.
1. Understanding UV Printing Direct to Film: Core Fundamentals
Before diving into techniques, it’s critical to grasp the foundational principles that set UV DTF apart from traditional printing methods.
1.1 What is UV Printing Direct to Film?
UV DTF is a digital printing process that involves depositing UV-curable inks directly onto a specialized PET film, followed by instant curing with UV light. The printed film, equipped with an adhesive layer, is then transferred to the target substrate via heat pressing or cold lamination. Unlike standard DTF, UV curing eliminates drying time, ensuring smudge-proof, scratch-resistant designs with intense color retention. This technique bridges the gap between digital precision and multi-substrate compatibility, making it a favorite for custom printing projects.
1.2 Key Advantages of UV DTF Over Traditional Methods
UV printing direct to film offers distinct benefits that make it a superior choice for many applications. It delivers instant curing, reducing production time and increasing workflow efficiency. The UV-cured inks provide exceptional durability, resisting fading, water, and abrasion. Additionally, UV DTF supports high-resolution designs—including fine lines, gradients, and photo-realistic details—while adhering to both porous and non-porous substrates. Unlike sublimation, it requires no pre-treated materials, expanding creative possibilities further.
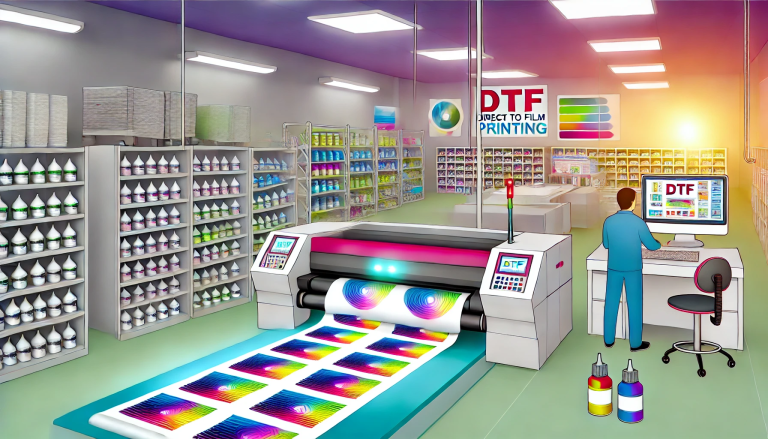
2. Essential Equipment for UV DTF Mastery
The right equipment is the backbone of successful UV printing direct to film. Investing in quality tools and understanding their functions is crucial for consistent results.
2.1 UV DTF Printers: Choosing the Right Model
UV DTF printers are specialized devices equipped with UV lamps for instant curing and precision inkjet heads. When selecting a printer, consider factors like print size (A4, A3, or large-format), resolution (ideally 1200 DPI or higher), and ink compatibility. Desktop models suit small businesses and hobbyists, while industrial-grade printers cater to high-volume production. Look for printers with adjustable UV lamp intensity to accommodate different film types and ink viscosities.
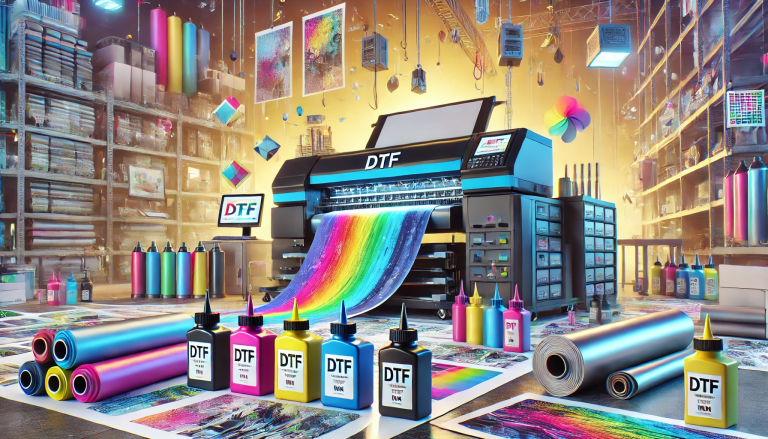
2.2 Supporting Tools and Accessories
Beyond the printer, several accessories are essential for seamless UV DTF workflows. A high-quality heat press (with adjustable temperature and pressure settings) ensures secure transfer of printed film to substrates. A powder shaker or automatic powder coater (for adhesive powder application) promotes uniform coverage. Additionally, substrate pre-treatment tools (alcohol wipes, pre-treatment sprays) and film trimmers enhance adhesion and precision. Investing in a UV light meter can help monitor curing intensity, avoiding under or over-curing.
3. Selecting Premium Materials for UV DTF Success
Materials quality directly impacts print outcome—choosing the right film, inks, and adhesive powder is non-negotiable for mastering UV printing direct to film.
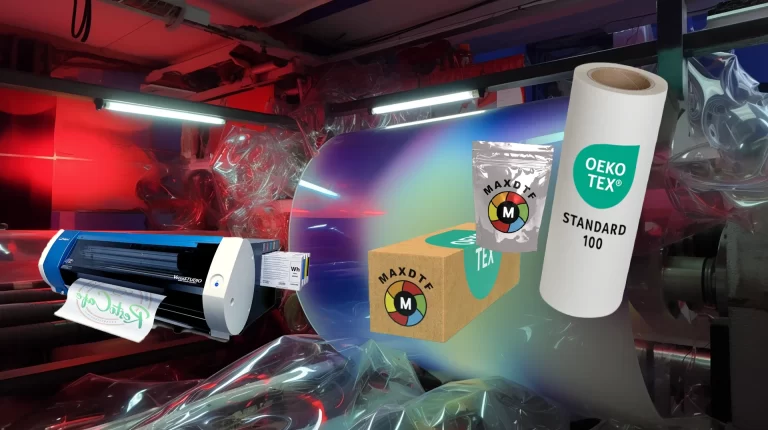
3.1 UV DTF Film: Key Characteristics to Look For
Opt for high-grade PET-based UV DTF film with a receptive coating designed to bond with UV inks. The film should have consistent thickness (typically 100–120 microns) to ensure smooth printing and transfer. Look for films with a strong adhesive layer that activates evenly under heat, avoiding peeling or bubbling. Matte and glossy variants are available—select based on the desired finish, with matte ideal for subtle designs and glossy for vibrant, reflective looks.
3.2 UV-Curable Inks: Formulation and Compatibility
UV DTF inks are formulated with photoinitiators that react to UV light, curing instantly. Choose inks compatible with your printer model and film type, prioritizing those with high color saturation and adhesion. CMYK ink sets are standard for full-color designs, while white ink is essential for printing on dark substrates (as a base layer to enhance color visibility). Opt for eco-friendly, low-VOC inks to meet environmental standards without compromising performance.
3.3 Adhesive Powder: Ensuring Strong Substrate Bonding
Adhesive powder is a critical component for UV DTF transfer, forming a bond between the printed film and substrate. Select high-tack powder compatible with UV-cured inks, ensuring it melts evenly under heat. Fine-grain powders prevent clumping and promote smooth transfers, while heat-resistant formulas retain adhesion after repeated washes (for fabric substrates). Test powder compatibility with your film and substrate to avoid adhesion issues.
4. Step-by-Step UV DTF Workflow: From Design to Transfer
Mastering UV printing direct to film requires following a precise workflow, with attention to detail at every stage. Below is a step-by-step breakdown of the process.
4.1 Design Preparation and Optimization
Start by creating or refining designs in graphic software (e.g., Adobe Photoshop, CorelDRAW). Optimize resolution to 300–600 DPI for sharp details, and adjust color profiles to match UV ink properties. For dark substrates, add a white ink underlayer to boost color vibrancy. Avoid overly thin lines (less than 0.5mm) that may not transfer clearly, and mirror designs if necessary for correct orientation post-transfer.
4.2 Printing and UV Curing
Load UV DTF film into the printer, ensuring proper alignment to avoid misprints. Print the design using compatible UV inks, activating the printer’s UV lamps for instant curing. Adjust lamp intensity based on film thickness—thicker films may require higher intensity to ensure full curing. Inspect the printed film for smudges, gaps, or uneven ink coverage before proceeding; cure again if needed to eliminate tackiness.
4.3 Adhesive Powder Application and Secondary Curing
Apply a thin, even layer of adhesive powder to the cured print using a shaker or coater, removing excess powder with a brush. Cure the powder briefly (10–15 seconds) with low-intensity UV light or a heat gun to set it, preventing smearing during transfer. Ensure the powder fully covers the ink layer without clumping, as uneven application leads to patchy adhesion.
4.4 Heat Press Transfer and Finishing
Preheat the heat press to 140–160°C (284–320°F) based on the substrate (lower for fabrics, higher for rigid surfaces). Position the printed film onto the substrate, apply medium pressure for 10–15 seconds, and allow it to cool completely. Peel off the PET carrier film to reveal the final design. For added durability, apply a clear protective layer or post-cure with UV light for 30 seconds.
5. Troubleshooting Common UV DTF Issues
Even with proper preparation, challenges may arise. Below are solutions to common UV printing direct to film problems.
5.1 Poor Adhesion to Substrates
Poor adhesion often stems from dirty substrates, low-quality adhesive powder, or incorrect heat press settings. Clean non-porous substrates with alcohol to remove oils and dust, and pre-treat porous materials (cotton, wood) with a bonding spray. Ensure the heat press temperature and pressure are optimized for the substrate, and use high-tack adhesive powder compatible with UV inks.
5.2 Fading or Uneven Color
Fading results from under-curing, low-quality inks, or incorrect color profiles. Increase UV lamp intensity or curing time to fully set inks. Use premium UV-curable inks and calibrate your printer’s color settings to match the substrate. For dark substrates, ensure a sufficient white ink underlayer to enhance color visibility.
5.3 Film Peeling or Bubbling
Peeling or bubbling occurs due to uneven heat distribution, over-curing the film, or excessive adhesive powder. Ensure the heat press applies uniform pressure, and avoid over-curing the film (which makes it brittle). Use a light hand when applying adhesive powder, removing excess to prevent buildup.
6. Advanced Tips for Mastering UV DTF
Elevate your UV printing direct to film skills with these advanced strategies, tailored for professional results.
- Test on Sample Substrates: Always test prints on sample materials before bulk production to adjust settings and ensure compatibility.
- Store Materials Properly: Keep UV DTF film and inks in a cool, dark place to prevent adhesive degradation and ink discoloration.
- Calibrate Equipment Regularly: Clean printer heads and calibrate UV lamps weekly to maintain print precision and curing consistency.
- Experiment with Finishes: Combine matte and glossy films, or add specialty inks (metallic, neon) to create unique, eye-catching designs.
Conclusion
Mastering the art of UV printing direct to film is a journey that combines technical knowledge, quality materials, and consistent practice. By understanding the fundamentals, investing in the right equipment, following a precise workflow, and troubleshooting effectively, you can unlock the full potential of UV DTF. This technique offers unparalleled versatility, efficiency, and quality, making it a valuable skill for printers of all scales—from hobbyists to commercial professionals. With dedication and the insights from this guide, you’ll be able to create stunning, durable designs that stand out in the competitive printing industry.