“Peel Away the Stress with DTF Hot Peel!” -MAXDTF- DTF transfer paper Factory, DTF Digital Transfer Foil Manufacturer, Made in china
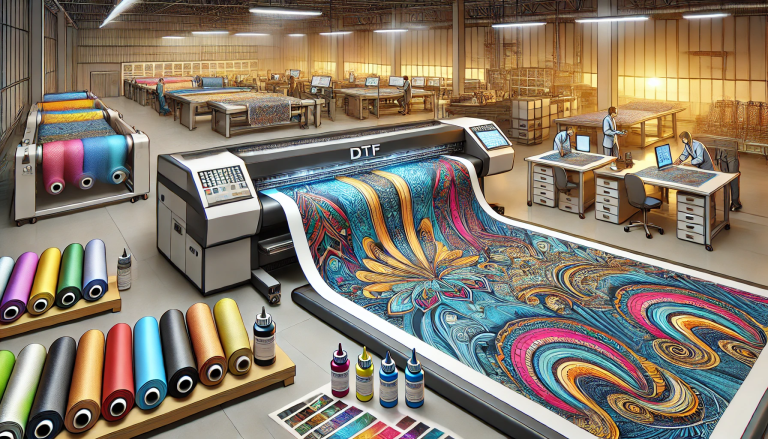
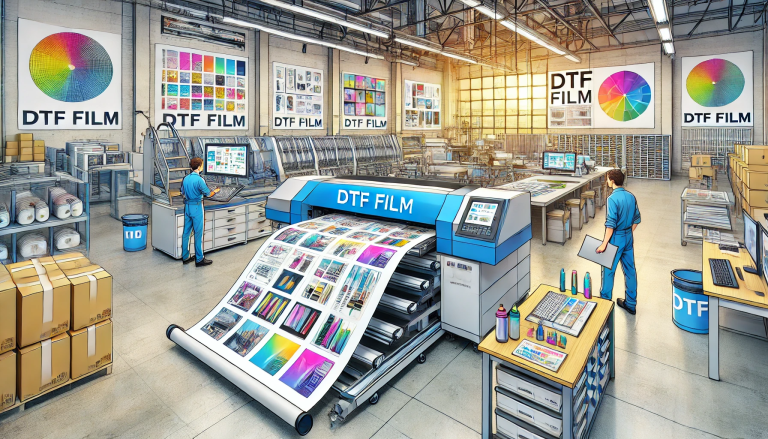
DTF (Direct to Film) hot peel is a widely used transfer technique favored for its time efficiency and ability to produce vivid, long-lasting prints on diverse fabrics. Distinct from cold peel, it requires removing the film carrier right after heat pressing while the transfer remains hot—this not only saves time but also ensures sharp, clean design edges. Below is a comprehensive, step-by-step guide to using DTF hot peel, along with essential tips and common pitfalls to avoid, helping you achieve professional results effortlessly.
1. Preparations: Tools & Material Readiness
Before starting the DTF hot peel process, ensure you have all necessary tools and materials ready. You will need: a DTF-printed film (with cured adhesive powder), the target fabric (cotton, polyester, blends, etc.), a heat press machine, a pair of heat-resistant gloves (to protect hands from hot surfaces), and a lint roller or cloth (to clean the fabric). First, prewash and dry the fabric if it’s new to remove any sizing or impurities that might affect adhesion. Use the lint roller to wipe the fabric surface, ensuring it’s clean and free of dust, hair, or debris. Preheat your heat press to the appropriate temperature (typically 140–160°C / 284–320°F; refer to the DTF film manufacturer’s guidelines for exact settings).
2. Step-by-Step DTF Hot Peel Operation
Follow these precise steps to execute the DTF hot peel transfer successfully:
- Position the DTF Film: Lay the target fabric flat on the heat press platen, ensuring it’s smooth and wrinkle-free. Place the DTF-printed film on top of the fabric with the printed side facing down (toward the fabric). Align the design accurately to the desired position—use measuring tape or alignment tools if needed to avoid misplacement.
- Apply Heat and Pressure: Close the heat press and apply the recommended pressure (usually 3–5 kg/cm²) for the specified time (10–20 seconds). The exact time and pressure may vary based on the fabric type and DTF film thickness, so always check the manufacturer’s instructions. Avoid moving the film or fabric during pressing to prevent blurring the design.
- Hot Peel the Film Carrier: Immediately after the heat press timer ends, open the press and put on heat-resistant gloves. Grasp one corner of the DTF film carrier and peel it off the fabric in a smooth, steady motion—peel at a 45° angle to ensure the design stays intact on the fabric. Do not wait for the film to cool down, as this will make peeling harder and may damage the design.
- Post-Transfer Check (Optional): After peeling, inspect the print for any missing parts, blurriness, or poor adhesion. If needed, you can do a quick second press (5–10 seconds) without the film to reinforce the design’s bond with the fabric.
3. Pro Tips for Perfect DTF Hot Peel Results
To enhance the quality and durability of your DTF hot peel prints, keep these tips in mind:
- Always test the heat press settings on a scrap piece of the same fabric before transferring the final design. This helps avoid overheating or under-pressing, which can ruin the print.
- Ensure the DTF film’s adhesive powder is fully cured before transfer. Under-cured powder will lead to poor adhesion and peeling after washing.
- Peel the film carrier quickly and steadily—slow or uneven peeling can cause the design to lift or tear.
- For stretchy fabrics, avoid stretching the fabric during peeling or immediately after transfer, as this can distort the design.
- Allow the printed fabric to cool completely before washing. Follow the care instructions (e.g., wash in cold water, avoid bleach) to extend the print’s lifespan.
4. Common Mistakes to Avoid
Steering clear of these common errors will help you achieve consistent, professional results:
- Peeling Too Late: Waiting for the film to cool down before peeling (a common mistake for those used to cold peel) will cause the adhesive to bond too tightly with the carrier, leading to design damage.
- Incorrect Temperature/Pressure: Too low temperature or pressure results in poor adhesion; too high can scorch the fabric or melt the design.
- Dirty Fabric or Film: Dust, lint, or oil on the fabric or film surface creates gaps in the adhesion, causing the print to peel off easily.
- Rushing the Alignment: Misaligning the film before pressing wastes materials and ruins the final product. Take time to position the design correctly.
Conclusion: Master DTF Hot Peel for Efficient Printing
DTF hot peel is a simple yet effective transfer method that boosts printing efficiency while delivering high-quality results when executed properly. By following the preparation steps, step-by-step operation, and pro tips in this guide, you can easily master DTF hot peel and create vibrant, durable prints for apparel, accessories, and more. Always refer to the manufacturer’s guidelines for your specific DTF film and heat press, and conduct a test run beforehand to avoid errors. With practice, DTF hot peel will become a reliable part of your custom printing workflow, helping you save time and enhance output quality.