“The Art and Science of DTF Transfers: A Step-by-Step Guide to Creation” -MAXDTF- DTF Transfer Film glossy Factory, DTF Transfer Film 13×19 Manufacturer, Made in China
Rain taps softly against the workshop windows, turning the world outside into a blurred watercolor—an apt backdrop for DTF (Direct-to-Film) transfers, a craft that marries precise science with the fluidity of art. When the sky is overcast, the steady rhythm of raindrops pairs perfectly with the methodical steps of creating DTF transfers, where every detail, from ink consistency to heat pressure, shapes the final result. Below is a step-by-step guide to mastering this process, even as the rain sets a calm, focused tone.
Step 1: Prep Your Workspace—A Dry Haven Amidst the Damp
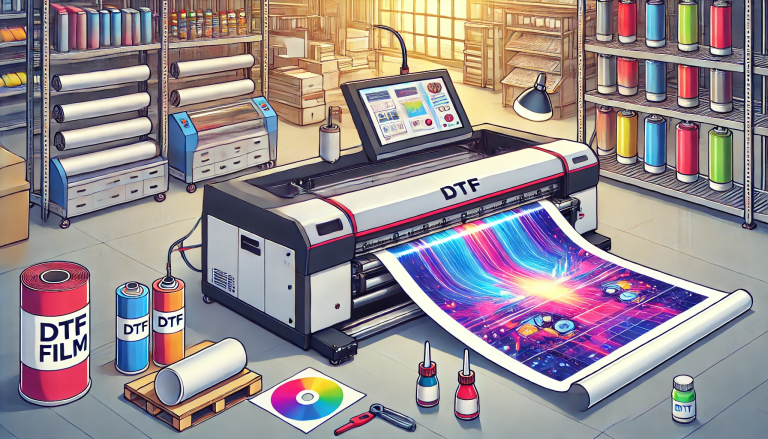
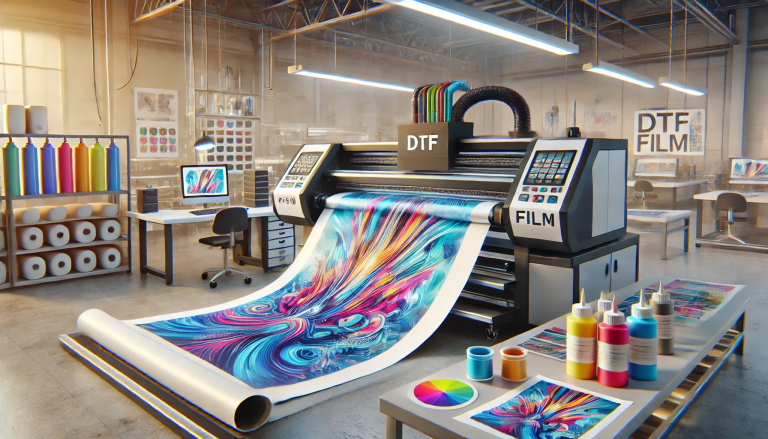
Rain brings humidity, the enemy of DTF paper and ink. First, seal your workspace: close drafty windows, use a dehumidifier to keep moisture levels below 50%, and lay down a waterproof mat to catch any accidental spills. Gather your supplies: high-quality A3 DTF paper (store it in an airtight container until use), DTF-specific ink (cyan, magenta, yellow, black, and white), a DTF printer, a powder shaker, a curing oven, and a heat press. The goal is a dry, organized zone—an island of control as the rain patters outside.
Step 2: Design and Print—Ink Meets Paper, Rain as Background Music
Load your design into printing software, adjusting for the substrate (fabric, metal, glass) and ensuring colors are vibrant enough to stand out post-transfer. DTF thrives on layering, so include a white ink base for dark materials—it acts as a canvas for brighter hues. As the printer hums, competing gently with the rain, load the A3 DTF paper (coated side up). The printer deposits ink in precise layers; white first, then CMYK, creating a crisp image that sits on the paper’s adhesive coating. Avoid rushing—let the printer complete its cycle, the rain’s slow pace a reminder that precision takes time.
Step 3: Powder Application—Dust and Drops, a Delicate Balance
Immediately after printing, while the ink is wet, shake DTF hot-melt powder over the paper. The powder adheres to the ink, forming a bond that will later stick to the substrate. Use a soft brush to remove excess powder—discard it, as reused powder clumps from moisture (a risk on rainy days). This step is part science (the powder’s melting point must match the curing process) and part art (even coverage ensures no patchy transfers). The rain’s hush makes it easy to focus on the fine dusting.
Step 4: Curing—Heat Against the Cold, Setting the Design
Preheat the curing oven to 160–180°C (320–356°F). Place the powdered DTF paper on a flat tray and slide it into the oven for 2–3 minutes. The heat melts the powder into a smooth, flexible layer that encapsulates the ink. On rainy days, double-check the oven’s temperature—cold drafts can cause fluctuations. When done, remove the paper; it should feel dry and slightly tacky, not sticky. Let it cool for 30 seconds—another moment to listen to the rain while the design sets.
Step 5: Heat Press Transfer—Pressure, Precision, and a Final Bond
Prep your substrate: wash and dry fabric to remove lint, wipe metal or glass with a dry cloth to eliminate moisture. Set the heat press to 180–200°C (356–392°F) and adjust pressure based on the material (firmer for hard substrates, lighter for fabric). Place the DTF paper (design side down) on the substrate, close the press, and hold for 10–15 seconds. The rain outside contrasts with the press’s warmth as the design transfers. When done, peel the paper away slowly—if the design lifts, press again for a few more seconds.
Step 6: Cool and Finish—Rain’s End, a Perfect Result
Let the transferred substrate cool completely before handling—on rainy days, this may take a minute longer due to cooler air. For fabric, a quick cold wash (inside out) will set the design further, ensuring it resists fading and washing. Hold your finished piece up to the window: the vibrant design stands out against the rainy backdrop, a testament to the blend of science (temperatures, powder ratios) and art (design choice, careful application) that defines DTF transfers. The rain has stopped, leaving a fresh scent—and a flawless transfer.
DTF transfers thrive on patience, a quality the rain encourages. Every step, from prepping the dry workspace to peeling the paper, is a dance between control and creativity. Whether the sky is gray or blue, mastering these steps turns A3 DTF paper into a canvas for endless possibilities—one precise, rain-accompanied step at a time.